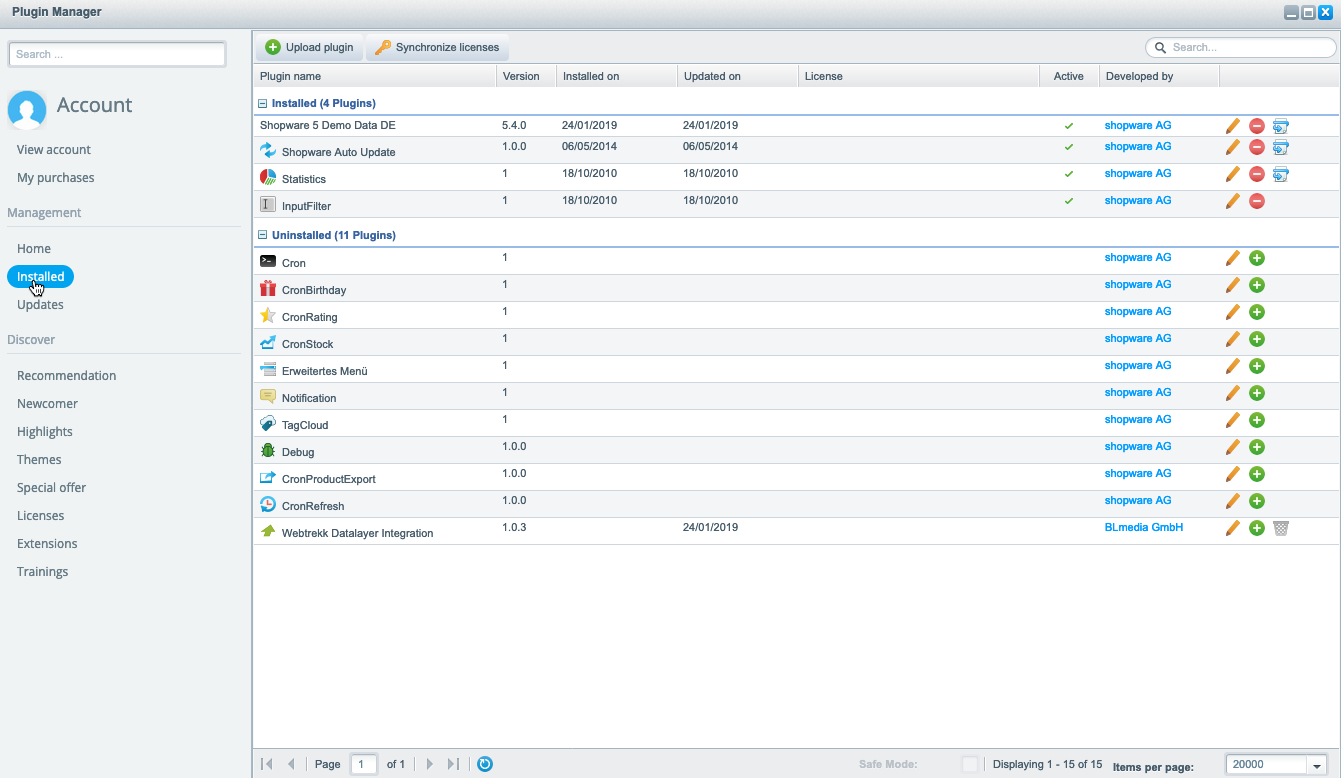
Go to Configuration > Plugin Manager > Management > Installed.
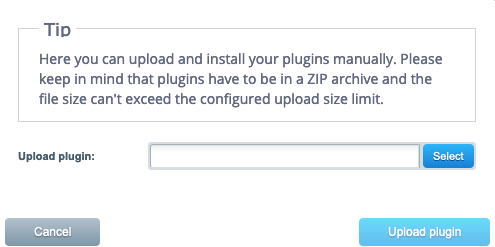
Click [+ Upload plugin]. The upload dialog opens.
Now select the ZIP file "webtrekk_shopware_plugin.zip" that you have downloaded before.
Please note that plugins have to be in a ZIP archive and the file size must not exceed the configured maximum upload size.
Click [Upload plugin]. After the successful installation of the "Webtrekk Data Layer Integration" plugin, it is listed under "Inactive plugins" in the overview of the Plugin Manager.
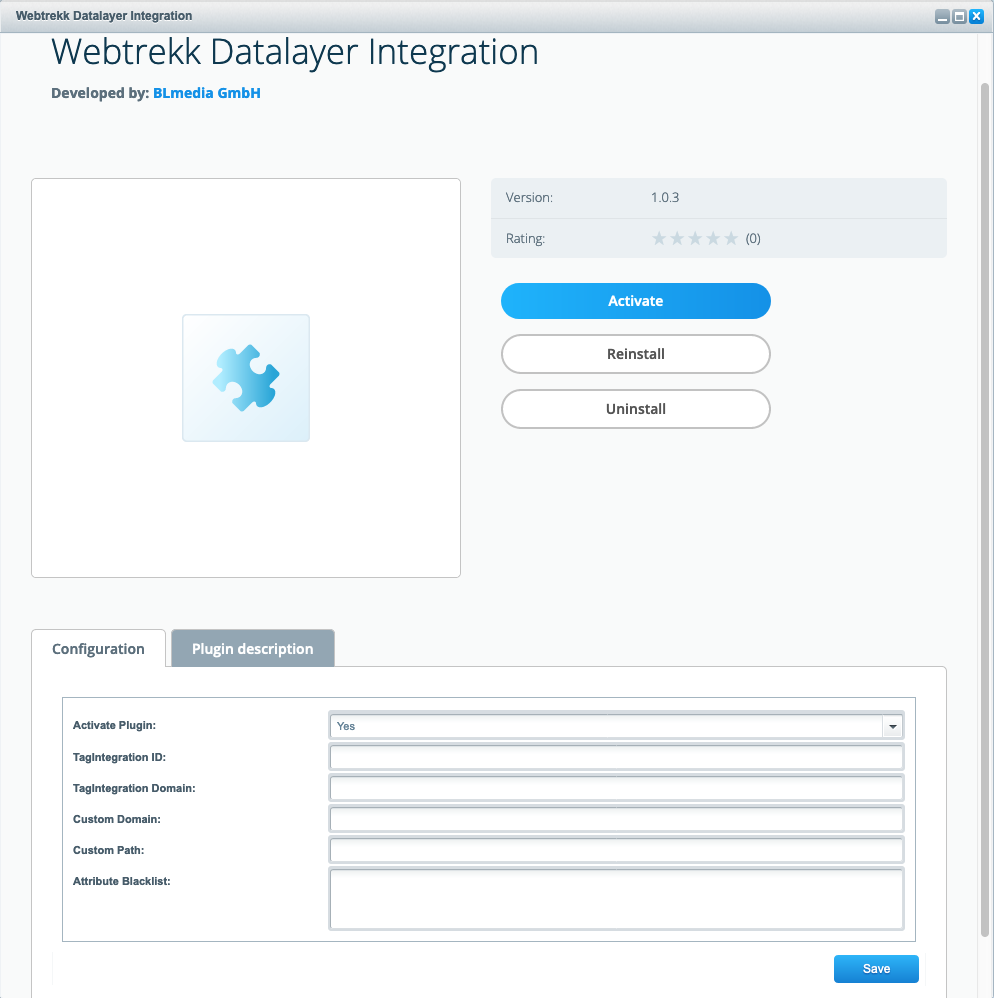
To open the uploaded plugin click the [Editing] icon. The plugin configuration dialog opens.
In the configuration area, under the "Configuration" tab make the following settings:
Parameter
Description
Activate plugin
Activate the plugin by clicking the appropriate button. Alternatively, you can select the corresponding entry from the dropdown menu.
Tag Integration ID
Enter your Tag Integration ID if the Tag Integration file is to be loaded from the Mapp Intelligence server.
Tag Integration domain
Enter the Tag Integration domain if the Tag Integration file is to be loaded from the Mapp Intelligence server.
Custom domain
Enter your domain if you want the Tag Integration file to be loaded from your server.
Custom path
Enter the path to the JavaScript file if you want to load the Tag Integration file from your server.
Attribute blacklist
Define a semicolon-separated list of all attributes in the Mapp Intelligence data layer that you want to filter out.
For example, this is necessary for the particular attributes "userData_*", "billing_*" and "shipping_*" if you do not want them in the data layer.
Finally, click [Save].
Cookie Notice
We use technically neccessary cookies. For details, please have a look at: mapp.com/privacy