As a WordPress user you are part of a big community. 36% of all websites are powered by WordPress. To make tracking with Mapp Intelligence more convenient for you, we developed a great WordPress plugin to save you time and make tracking of your WordPress website or your WooCommerce shop even easier. The setup is easy. Just follow these steps and you should be hooked up with Mapp Intelligence tracking in no time.
Add or Download the Plugin
First steps are always easy, right? For this one it is true. There are two options:
Option 1
Use this option if you lack permissions in WordPress.
- Go to WordPress.
- Click the blue download button.
- Save the file for later or send it to your admin.
Option 2
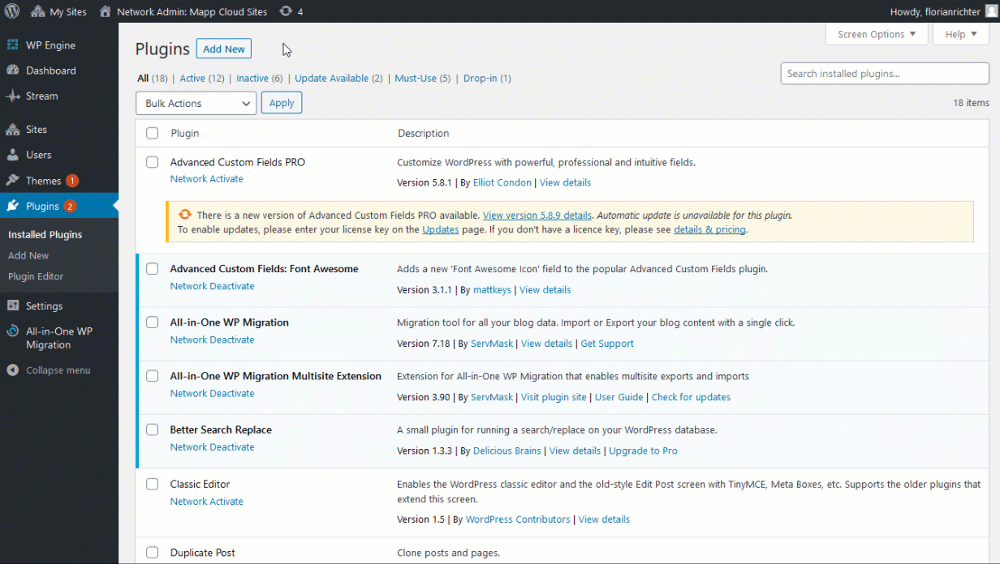
- Log in to your WordPress account and navigate to Plugins.
- Click Add New and search for Mapp Intelligence.
- Click Install Now.
Activate the Plugin
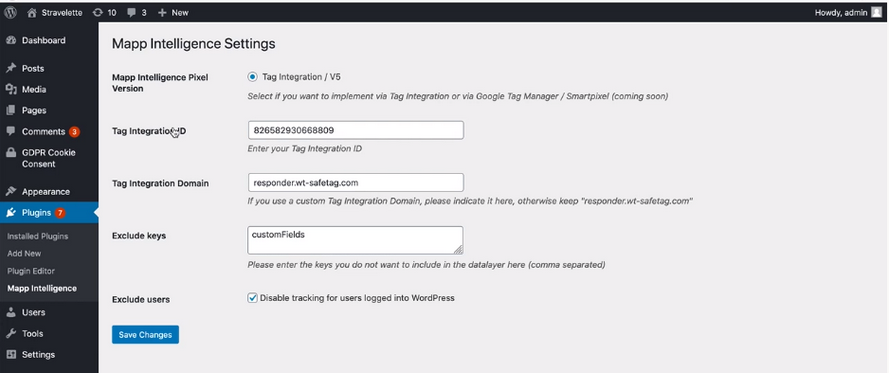
Navigate to your admin panel. Under Plugins, you will find the Mapp Intelligence plugin. To set it up, you will need your Tag Integration ID. Enter it alongside with your Tag Integration Domain. In the set-up window you can also check the box Exclude users. This will prevent sending tracking requests for users that are logged in to the account, for example while updating content or product information in your shop.
What happens in the background
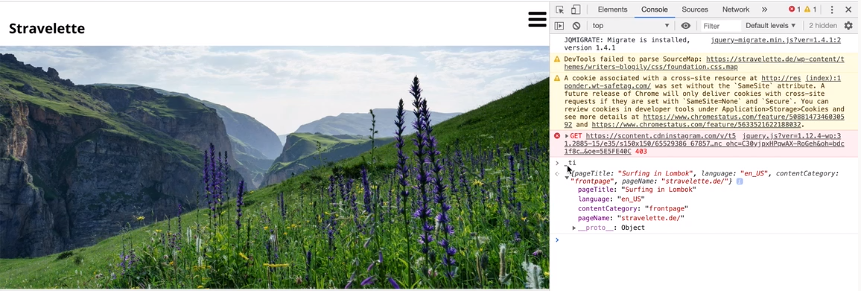
The 3rd step is where the magic happens. The plugin automatically creates data layers that are needed for the basic tracking (e.g. pageTitle, language, pageName) and e-commerce analyses in Mapp Intelligence (when using WooCommerce, e.g. Products, Orders).
Almost finished
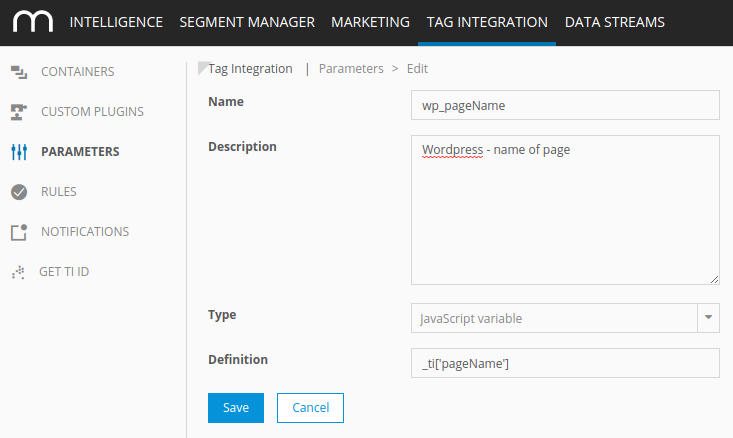
Last thing to do is to map the data layer variables in Tag Integration in the parameters section. If you don't want to do it manually, just give us a call. Our support team is happy to help.
Now your WordPress website or WooCommerce shop are all set-up. Happy tracking!
Technical documentation for the WordPress Plugin
Download plugin from WordPress