Create Direct Mail Message
Goal
To create a direct mail message which will be sent to selected contacts by Optilyz.
Prerequisites
In order to create and schedule a direct mail message, you need:
- An active Optilyz account
- A direct mail channel created in your Mapp Engage account.
- A template set up in your Optilyz account.
You can send Direct Mail without using the Whiteboard. However, we recommend that you are a Whiteboard user, as it allows you to design advanced end-to-end campaigns that combine online and offline activities.
Procedure
Go to Create > New Message > Direct Mail Message.
- Enter message name and if required, a description. Click Next.
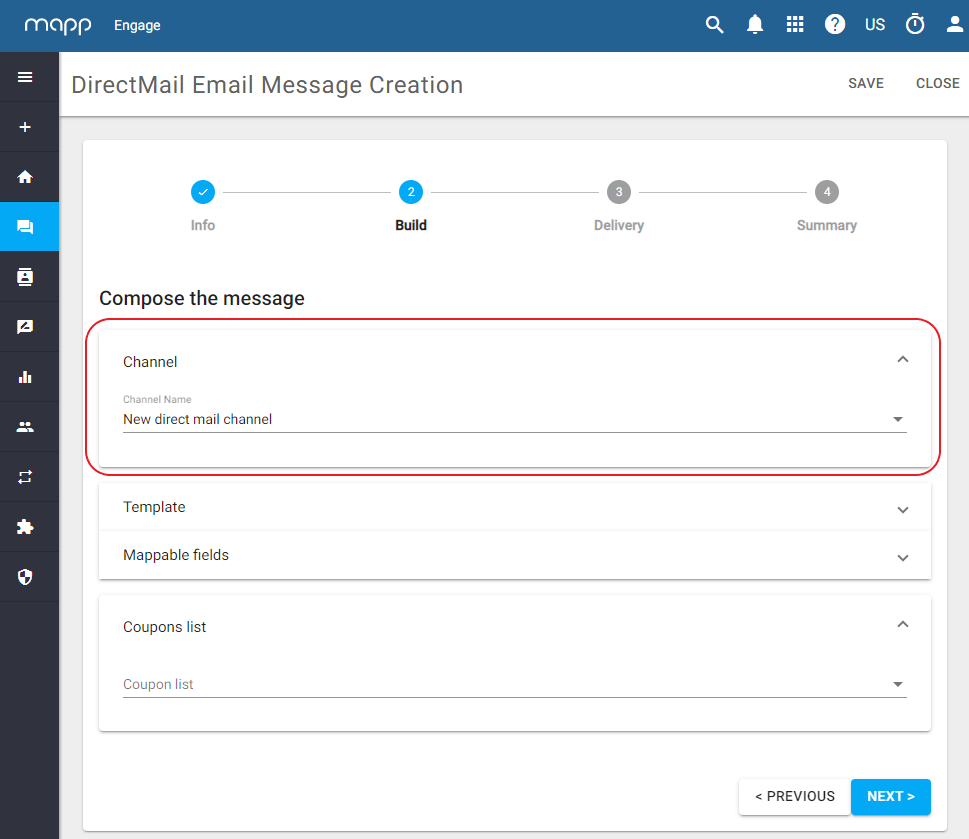
- Select the direct mail channel you want to use for the message.
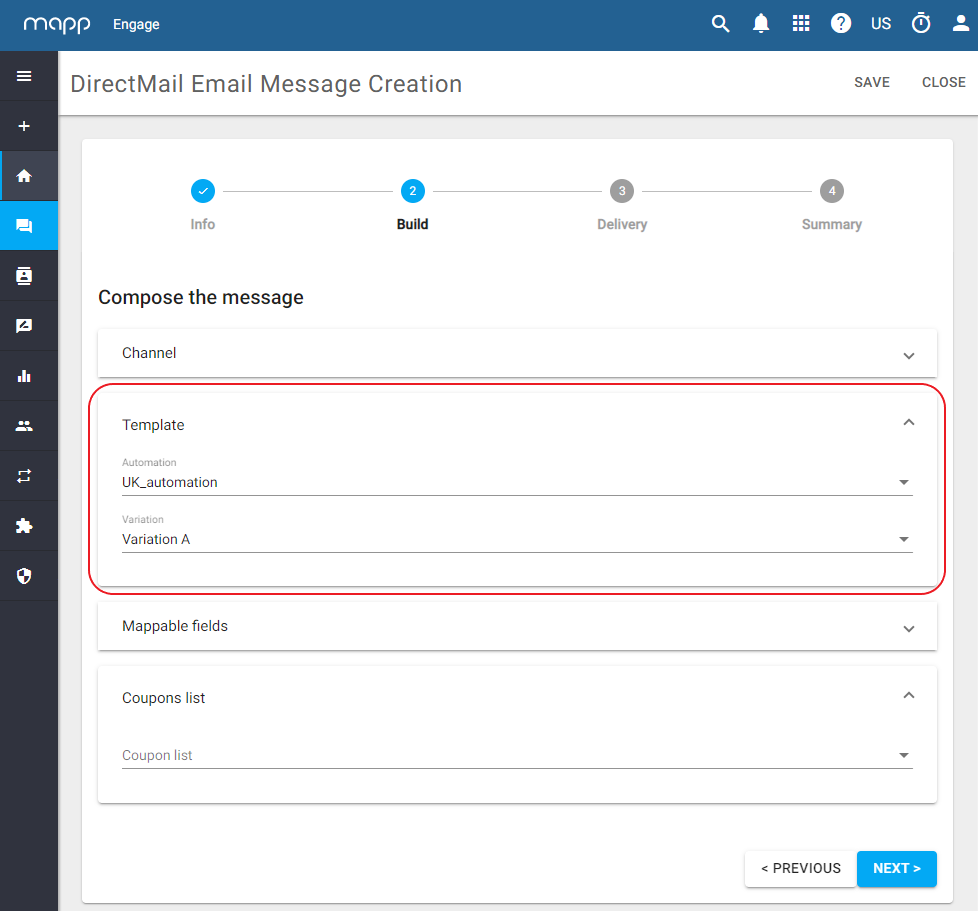
Select the required Template.

A Template is created in Optilyz. An Automation combined with a Variation constitute a Template.
Add personalization to the message. Click Next.

The mappable fields correspond to your Optilyz template. Personalize only those fields that are present in your template.
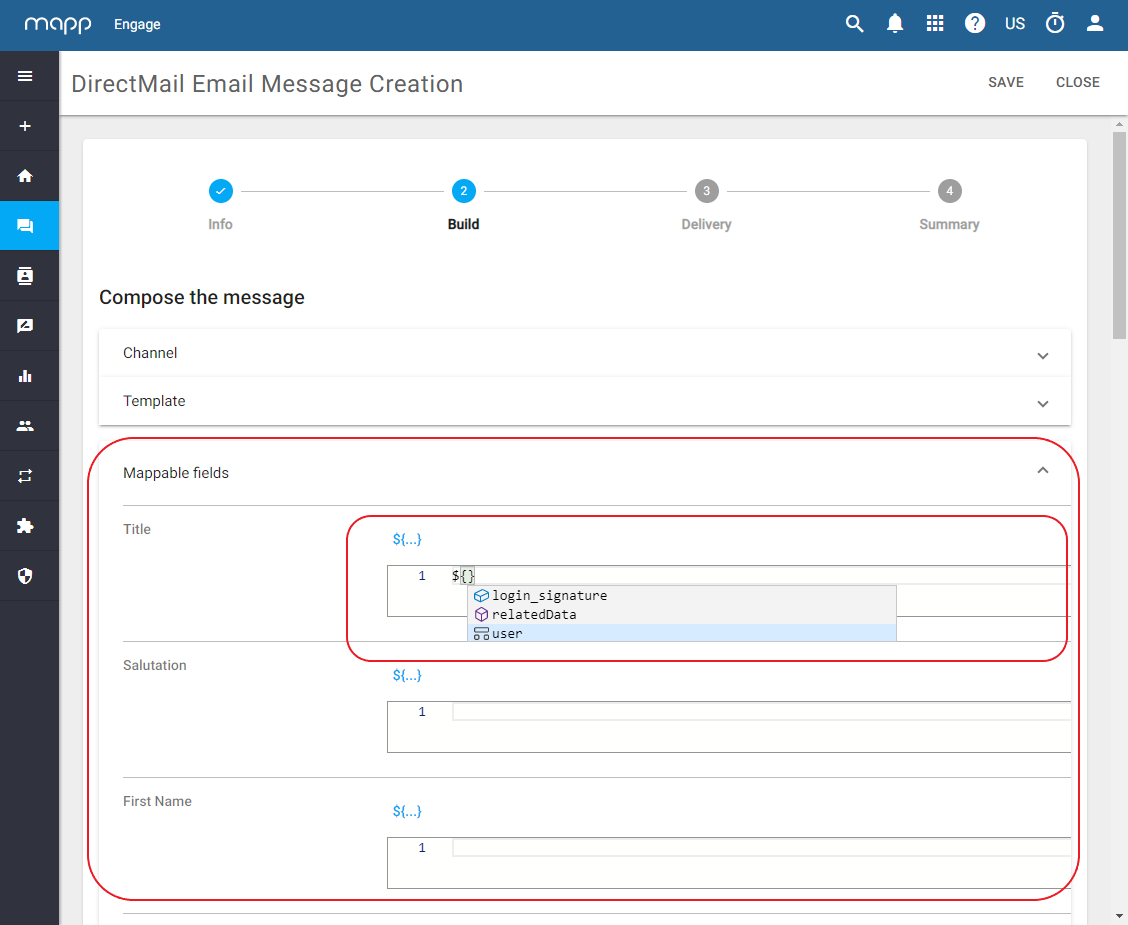

You can easily select elements of personalization from a predefined list in the message creation wizard.
Personalization with Related Data is also possible.
For more information about message personalization in Mapp Engage, see Personalization.
Custom Attributes which contain an upper-case letter are not recognized and cannot be used for personalization. You must manually change the upper-case letter to lower-case letter for the personalization to be applied.
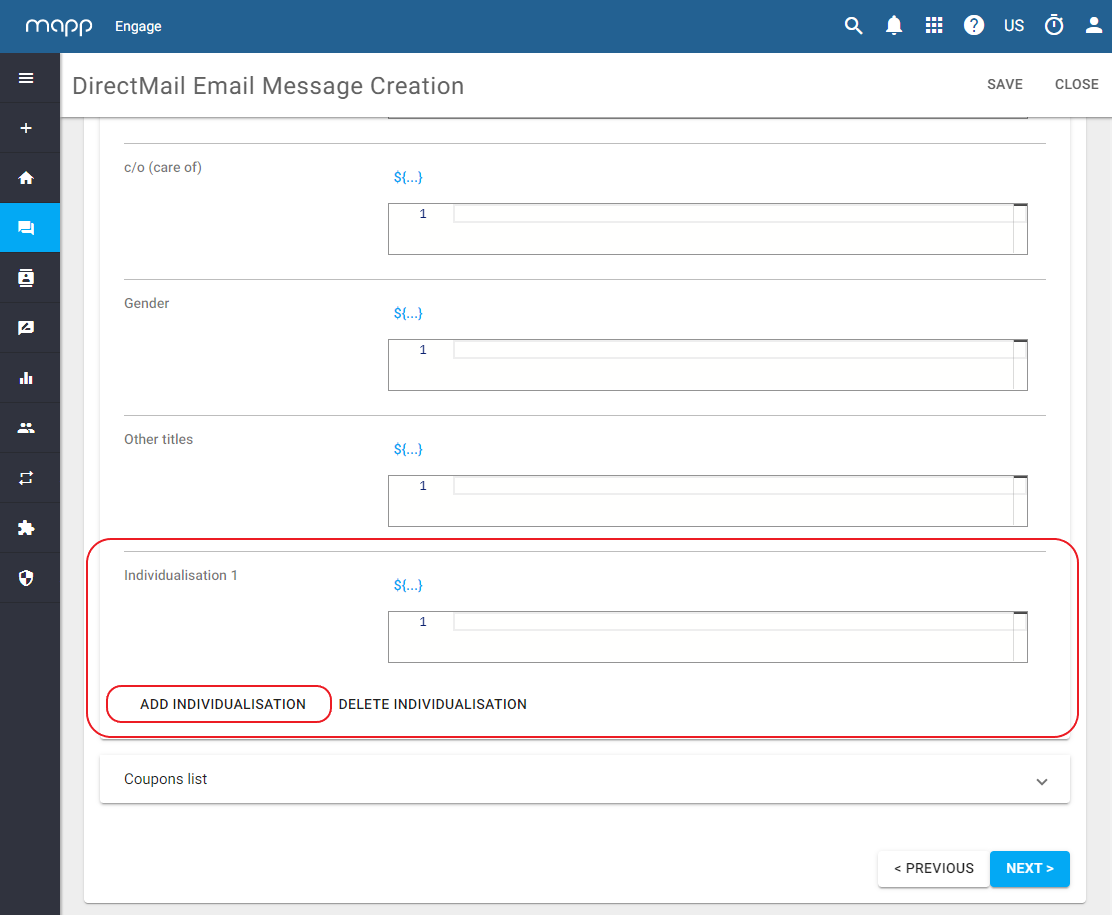
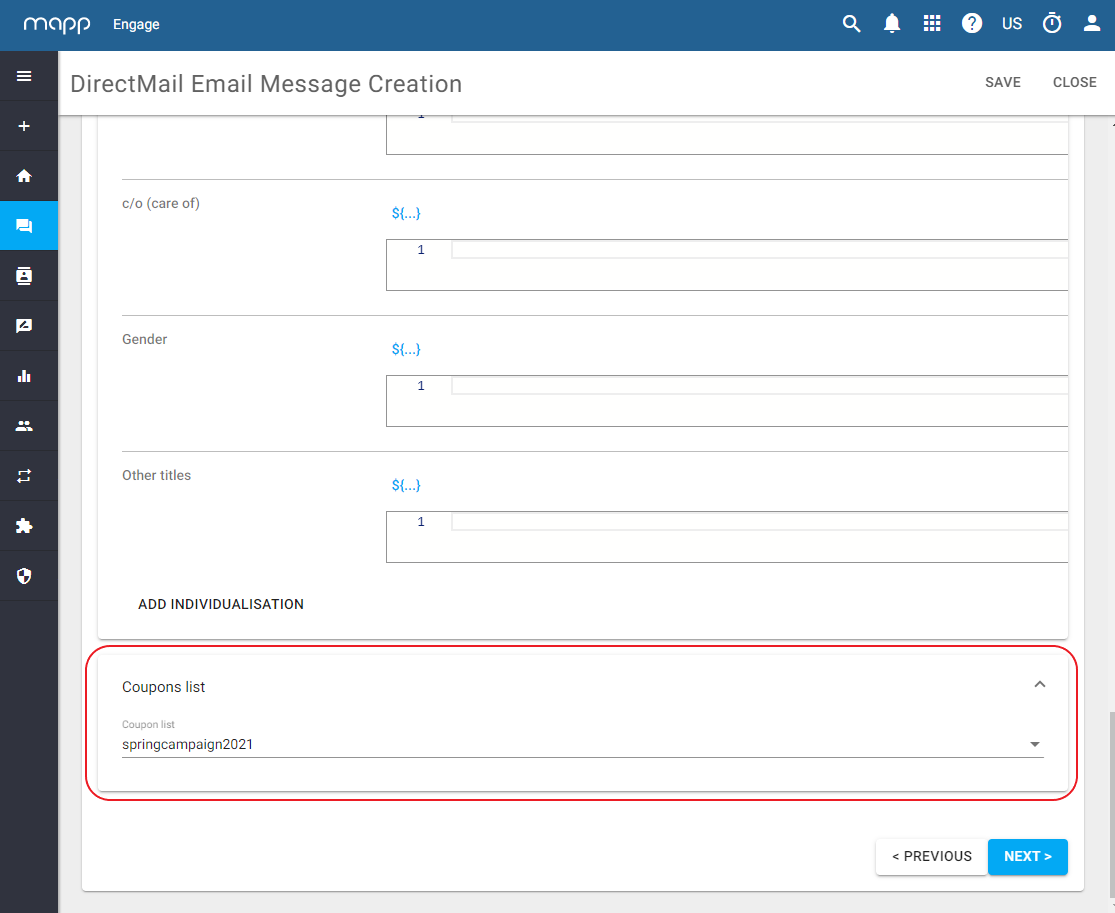
(optional) Click Add Individualization if you want to add more fields.
An Individualization is a personalization that you can freely define. For example, an individualization could be a text at the top of your printed sendout that says "Happy birthday", or "Spring Sale", etc.
- (optional) Select coupon list from drop-down list.
Define the delivery:
- Time. This option allows you to send the message immediately, or at a specific date and time. It also allows you to select an audience.
- Whiteboard. This option saves the message as a prepared message and allows you to add it to a Whiteboard.
- Click Next. You can now see the summary of your message configuration.
- Click Save to save the message. Click Send to send the message immediately.