If you use the Shopware plugin and the shopping cart is activated as an AJAX-element instead of a new page, the product status "add" does not exist.
To make tracking possible, you can follow the steps described here.
Log in into Tag Integration.
Create a new rule. To do this, click on Rules in the navigation area.
Click New rule.
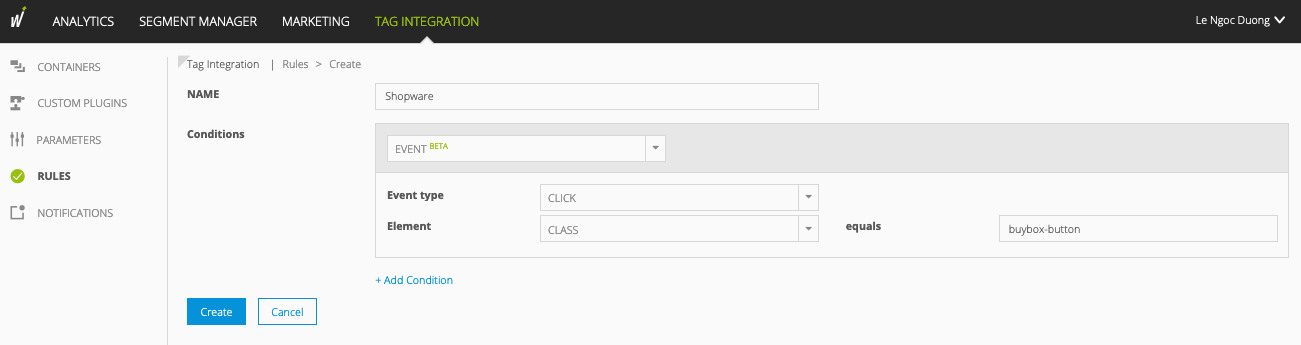
Make the following settings:
Parameter
Description
Name
Enter the name for the new rule.
Conditions
From the dropdown-menu, select:
Event
Event type
From the dropdown-menu, select:
Click
Element
From the dropdown-menu, select:
Class
Enter "equals buybox-button" in the text field.
Make sure that your Shopware theme does not change the class name of the [Buy] button. If the class name has been changed, you will usually need to change it accordingly in the rule configuration.
Click Create. The defined new rule is created and appears in the list of all rules.
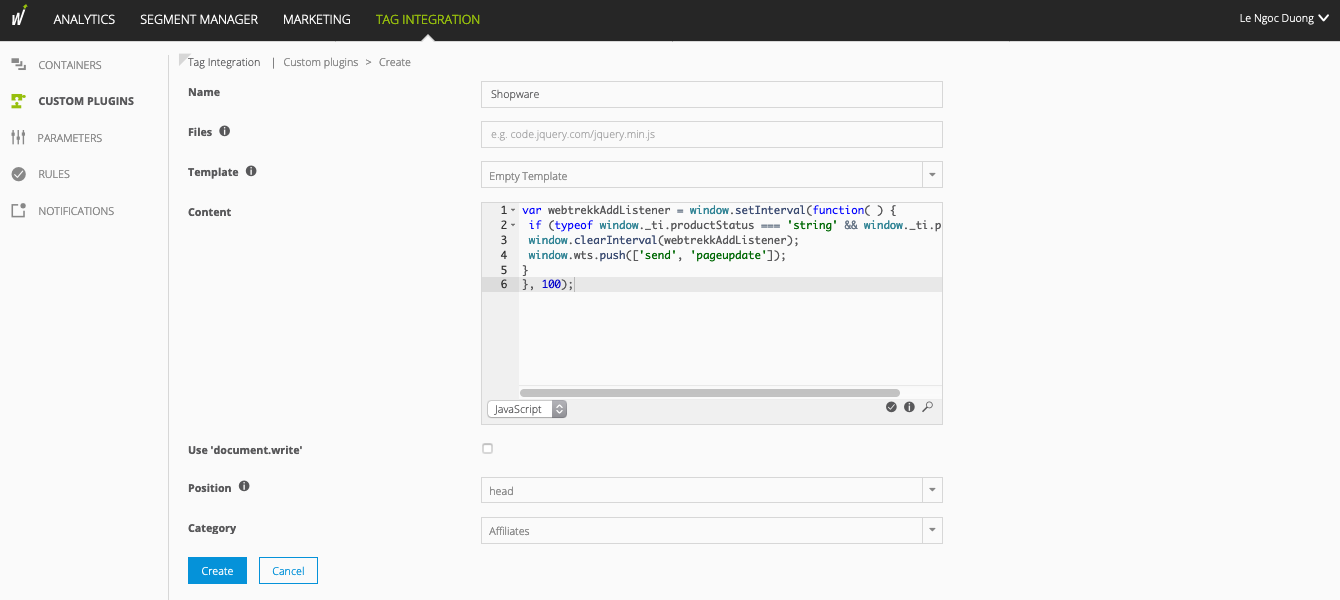
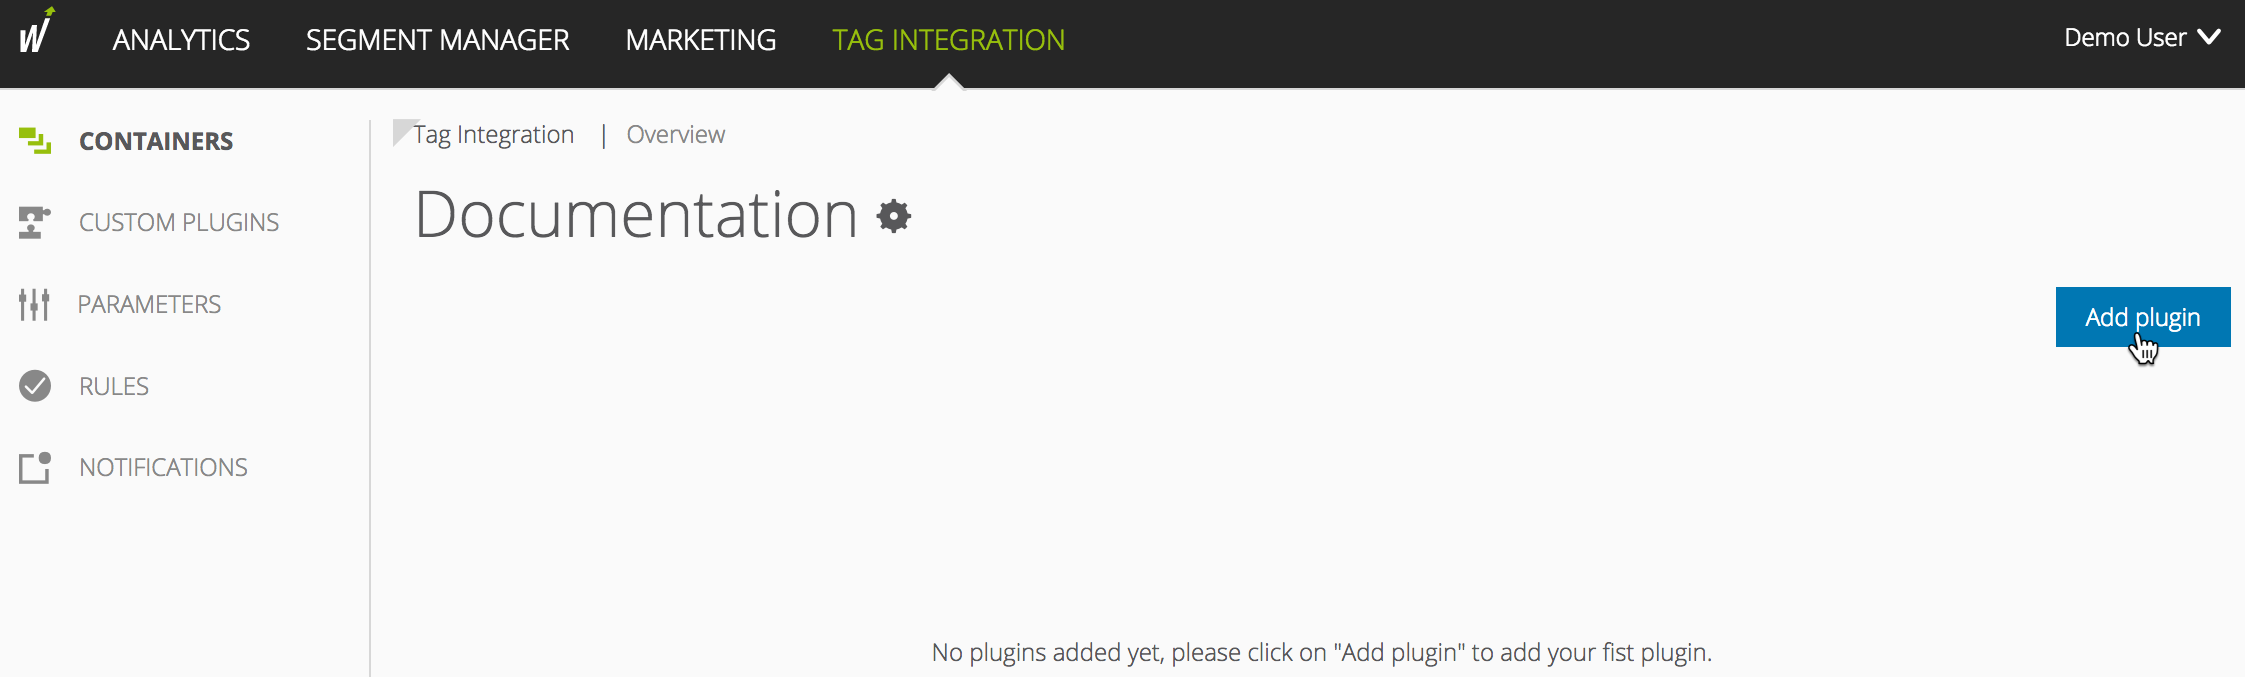
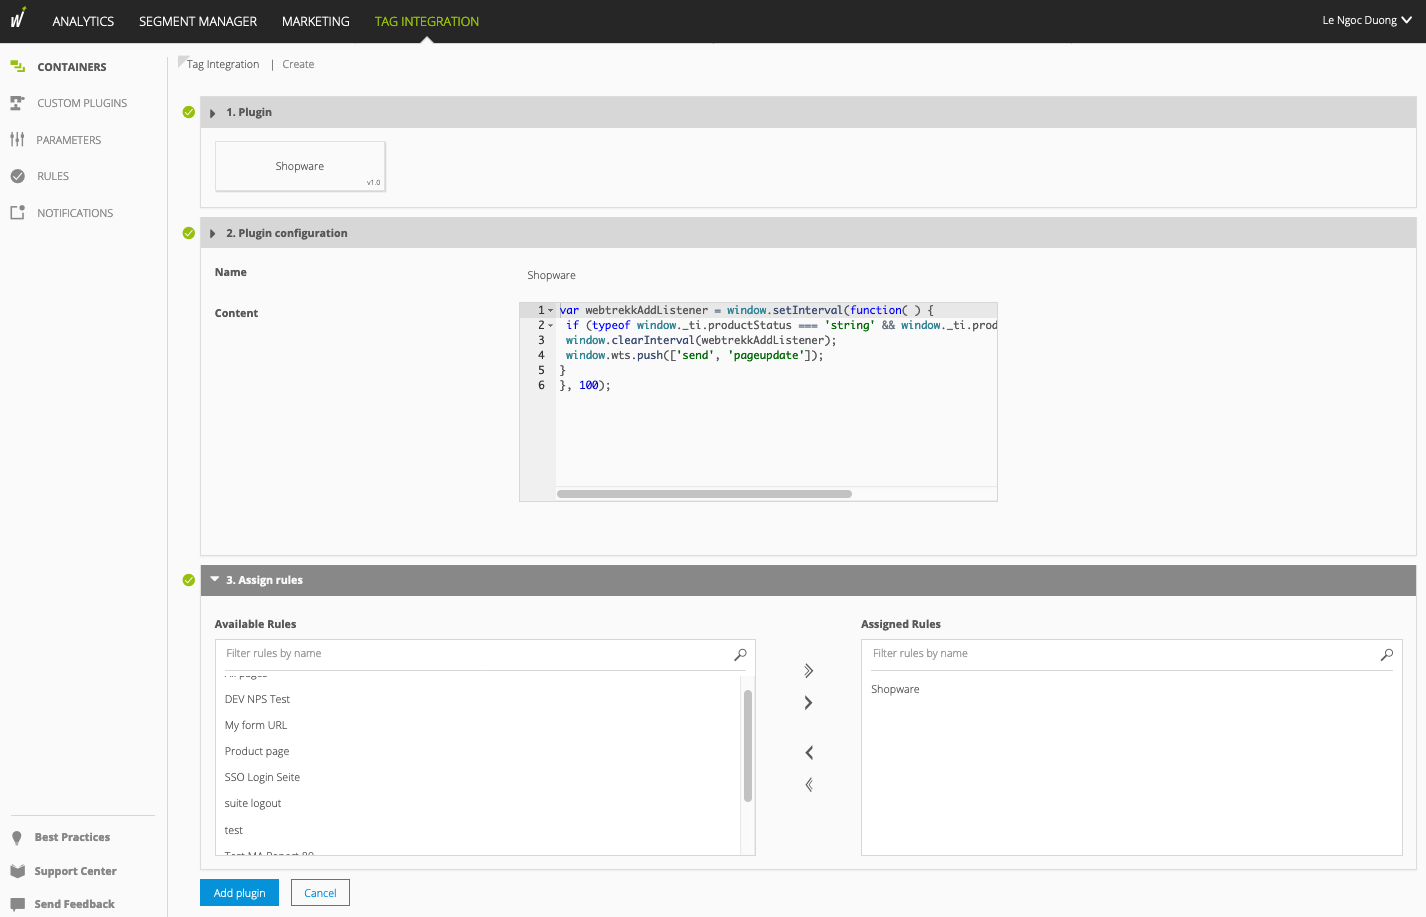
Now set up the Shopware plugin. Click in the navigation on Custom Plugins > New plugin.
Copy the following JavaScript code into the content text box: