Basic Implementation
There are two options for how to integrate Mapp Intelligence via Google Tag Manager.
A) Fast Integration
B) Advanced Integration with optional Plugins
Both options include the usage of the Mapp Intelligence GTM Template. It allows you to configure the tracking.
The tracking script -the so-called 'Smart Pixel'- needs to be loaded additionally.
Fast Integration
This is the fastest and easiest way to integrate Mapp Intelligence. The tracking script will be loaded from the Mapp CDN. Thus, you don't have to care about updates.
Please note, that you can't use any Mapp Intelligence Plugins (e.g., Teaser Tracking, Scroll Depth Plugin) via this method.
A) Add the Mapp Intelligence Configuration as GTM Template
With this tag, we can configure the tracking. This includes:
- In which Mapp account(s) should the data be tracked?
- How should the pages be named?
- Is automatic link tracking needed?
- ...
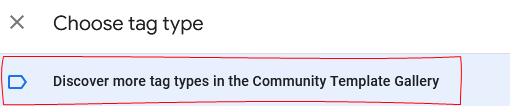
- In your container, click Tags > New > Tag Configuration and choose Discover more tag types in the Community Template Gallery
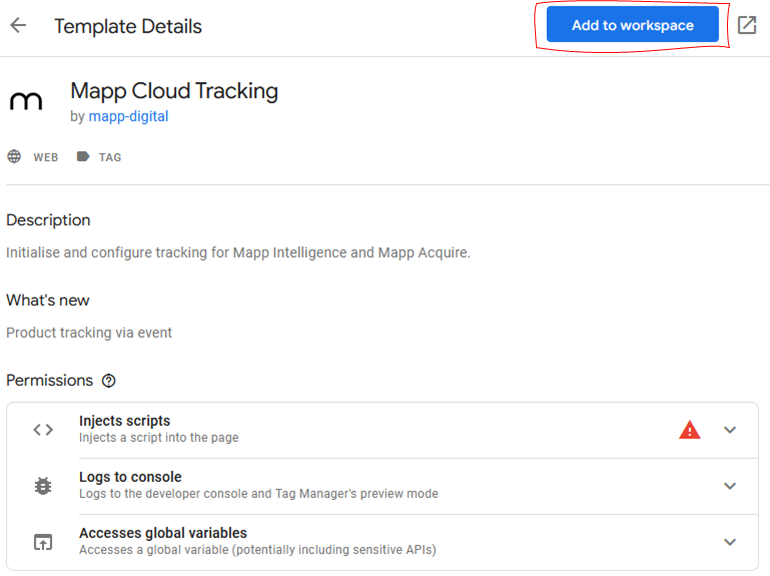
- Search for the Mapp Cloud Tracking tag and add it to your Workspace.
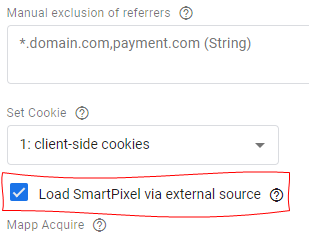
- Activate Load Smart Pixel via external source in the template settings. This will load the tracking Pixel from the Mapp CDN.
- Name it 'Mapp Intelligence Tracking Configuration' and save it without a trigger or with a trigger of your choice (when tracking data is available).
B) Configure and map data in the Mapp Intelligence GTM Template
Now we do the basic configuration.
- Select, in which Mapp account(s) the data should be tracked.
- Activate automatic tracking of HTML links.
- Activate page naming.
- Select the 'Mapp Intelligence Tracking Configuration' tag and enable edit mode.
- Select Request Type Page. Learn more about request types on this page.
Add Account information
Setting Description Track ID Track IDs are used to assign requests to an account. You find the track ID under Mapp Q3 > Configuration > System Configuration > Data Collection.
If the same information is to be recorded for multiple accounts, you can enter the corresponding track IDs of the accounts comma-separated.
Track Domain Specify your Mapp Intelligence track domain. This information is provided by your account manager. Exclude referrer domains Add domains that should be excluded from the referrer and campaign analyses in Mapp Intelligence. Here you should add your own domain.
Often, also payment providers are used here.
Once this is done, tracking starts. You will find basic information, like global traffic and the usage of single pages.

Please note, that data is updated hourly in standard analyses. We recommend using the Mapp Cloud Debugger to check if tracking works.
- Activate automatic tracking of HTML links
Mapp Intelligence offers automatic tracking of all HTML links. The easiest option is the type "Link".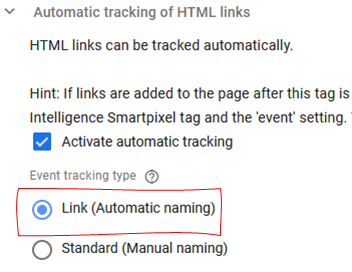
Add Page categorization
The different pages are automatically tracked with their URL as the page name.
We strongly recommend using content groups to categorize your pages. This allows for a high-level view, greater flexibility in the analysis, and easier usage of the user interface.
Learn more about content groups in this How-To.
You can configure content groups in the Page section.
Add the ID of the Content group (from Mapp Q3) and add the value, based on your GTM configuration.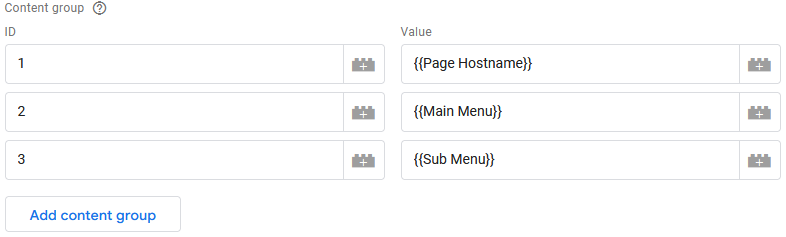
- Testing
Use the Mapp Cloud Debugger to check the track requests. Find more information in the documentation.
Mapp Intelligence offers a lot of predefined parameters to track different use cases. Learn more about it on this page.
Advanced Integration with optional Plugins
This approach supports the usage of Mapp Intelligence Plugins. The tracking script will be added via a Custom HTML tag. This allows to include additional plugins.
A) Add the Mapp Intelligence Smartpixel as Custom HTML
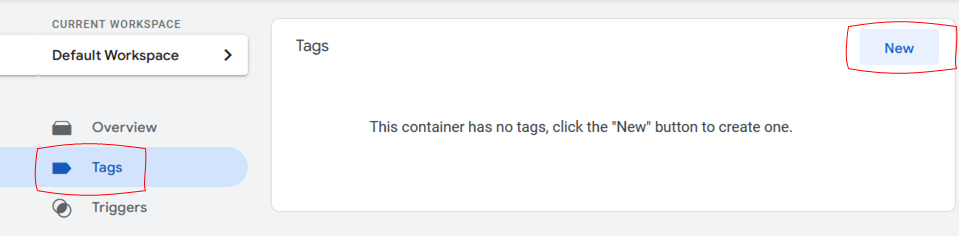
- In your container, click Tags > New.
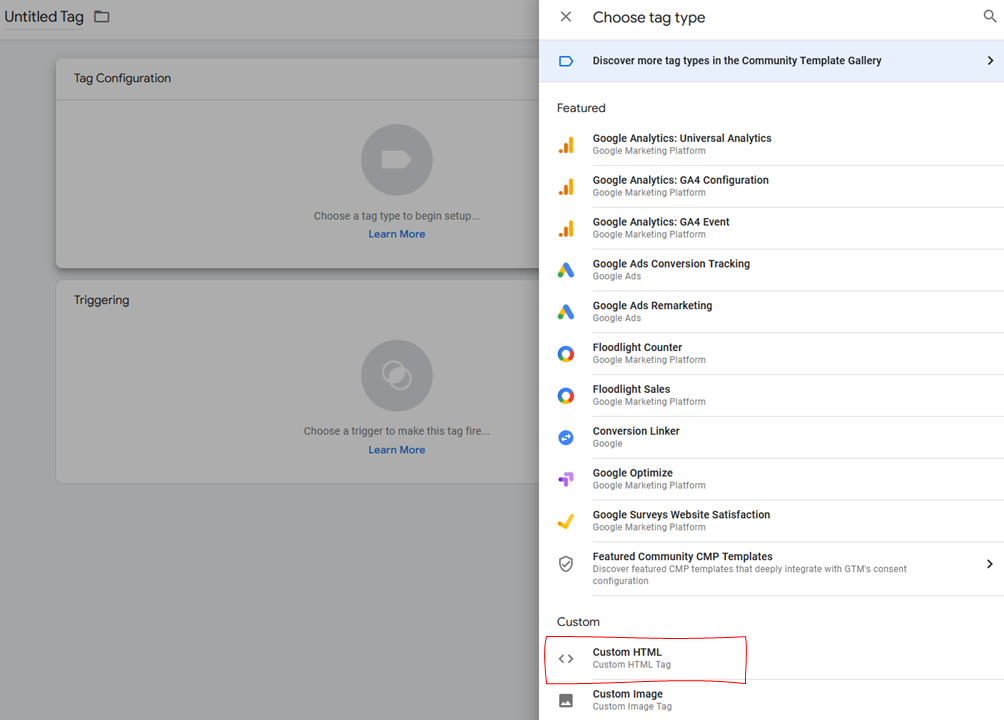
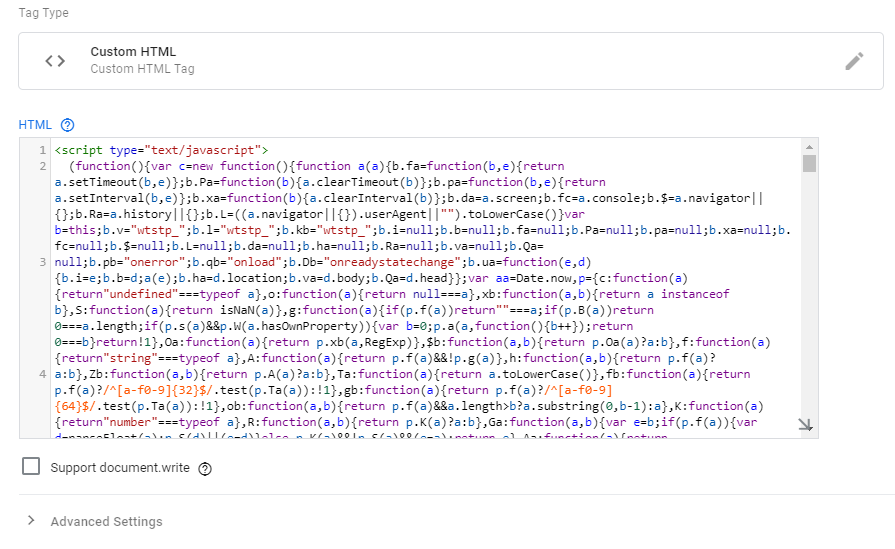
- Select Tag Configuration and choose tag type Custom HTML.
- Go to this page and copy the code from there.
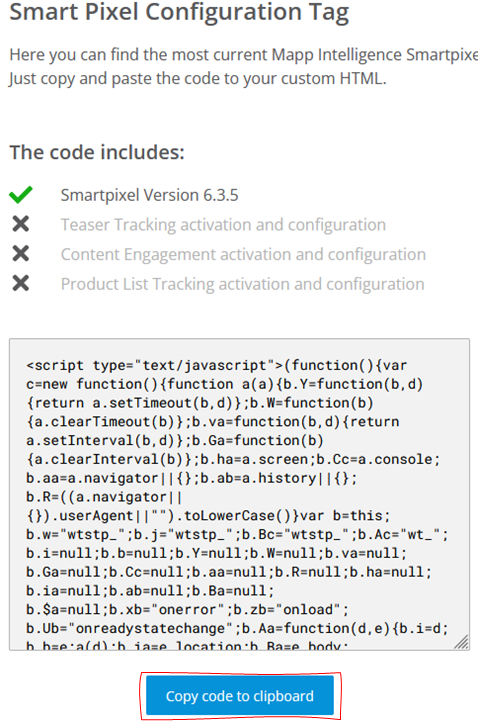
- After pasting it in your tag, it will look similar to this:
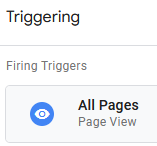
- Next, we pick a trigger. We use the default trigger 'All Pages'.
- Don't forget to name your new tag. In our example, we call it 'Mapp Intelligence':
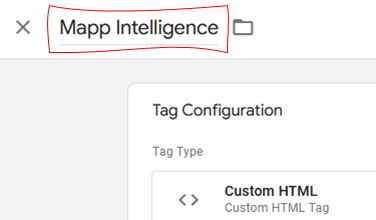
- Now click Save.
B) Add the Mapp Intelligence Configuration as GTM Template
With this additional tag, we can configure the tracking. This includes:
- In which Mapp account(s) should the data be tracked?
- How should the pages be named?
- Is automatic link tracking needed?
- ...
- In your container, click Tags > New > Tag Configuration and next Discover more tag types in the Community Template Gallery
- Search for the Mapp Cloud Tracking tag and add it to your Workspace.
- Name it 'Mapp Intelligence Tracking Configuration' and save it without a trigger in case you load Smartpixel via Custom HTML, or with a trigger of your choice (when tracking data is available).
You have now 2 tags available: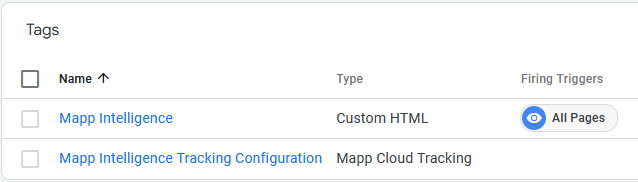
C) Activate Tag Sequencing
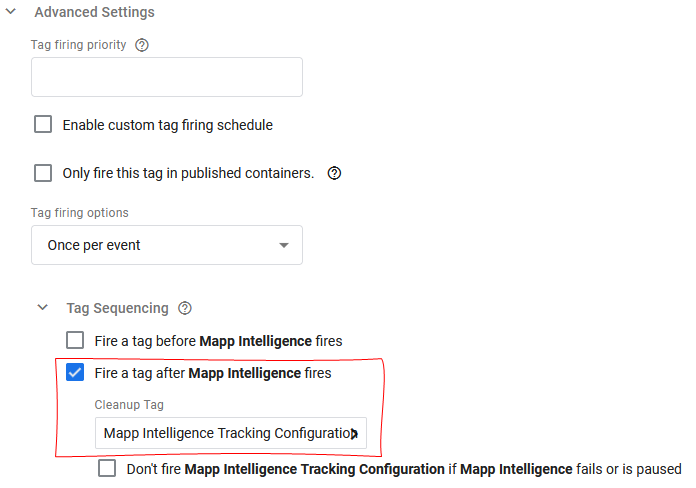
Next, we have to make sure that the Custom HTML tag loads before the Tracking configuration tag. This can be done by using Tag Sequencing.
- Go back to the Custom HTML tag 'Mapp Intelligence'.
- Click edit and go to the advanced settings.
- Under Tag Sequencing activate Fire a tag after Smartpixel code fires and select the 'Mapp Intelligence Tracking Configuration' tag.
D) Configure and map data in the Mapp Intelligence GTM Template
Now we do the basic configuration.
- Select, in which Mapp account(s) the data should be tracked.
- Activate automatic tracking of HTML links.
- Activate page naming.
- Select the 'Mapp Intelligence Tracking Configuration' tag and enable edit mode.
- Select Request Type Page. Learn more about request types on this page.
Add Account information
Select Request Type Page and add the following information:Setting Description Track ID Track IDs are used to assign requests to an account. You find the track ID under Mapp Q3 > Configuration > System Configuration > Data Collection.
If the same information is to be recorded for multiple accounts, you can enter the corresponding track IDs of the accounts comma-separated.
Track Domain Specify your Mapp Intelligence track domain. This information is provided by your account manager. Exclude referrer domains Add domains that should be excluded from the referrer and campaign analyses in Mapp Intelligence. Here you should add your own domain.
Often, also payment providers are used here.
Once this is done, tracking starts. You will find basic information, like global traffic and the usage of single pages.
Please note, that data is updated hourly in standard analyses. We recommend using the Mapp Cloud Debugger to check if tracking works.
- Activate automatic tracking of HTML links
Mapp Intelligence offers automatic tracking of all HTML links. The easiest option is the type "Link". Add Page categorization
The different pages are automatically tracked with their URL as the page name.
We strongly recommend using content groups to categorize your pages. This allows for a high-level view, greater flexibility in the analysis, and easier usage of the user interface.
Learn more about content groups in this How-To.
You can configure content groups in the Page section.
Add the ID of the Content group (from Mapp Q3) and add the value, based on your GTM configuration.- Testing
Use the Mapp Cloud Debugger to check the track requests. Find more information in the documentation.
Mapp Intelligence offers a lot of predefined parameters to track different use cases. Learn more about it on this page.
Supported Characters and Coding Formats
In case you want to send specific values, please be aware of supported characters and coding formats.
Mapp Intelligence supports the UTF-8 standard.
- A maximum of 255 characters can be entered per parameter.
- A request may not be larger than 7KB.
- Input is case-sensitive.
Certain characters are automatically filtered out during tracking:
- 0x00-0x1f
- '
- "
- <>\
- 0xA0 => space
- Several spaces become one.
- Trailing and ending spaces are removed.