To add plugins to your newly created container, proceed as follows:
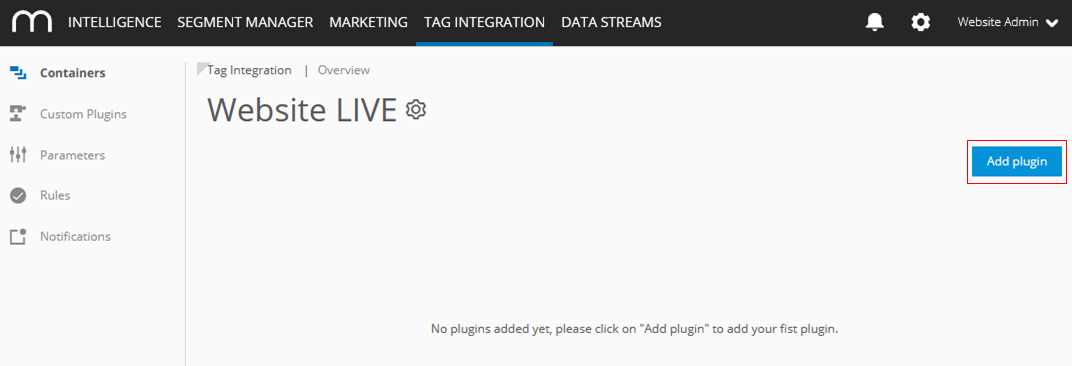
In the container overview, select a container by clicking the corresponding entry.
Click Add Plugin.
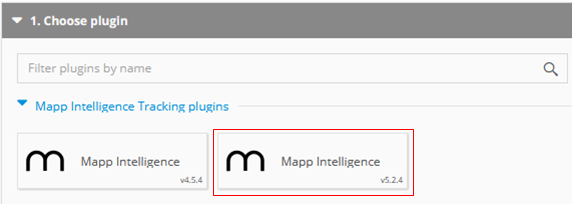
Select the Mapp Intelligence plugin.
In some cases, you see several versions of a plugin in the overview. This applies if an older version of the plugin is currently in use in a different container. Please always select the latest version of the plugin when setting up a new container.
Now enter some basic information (see section Basic).
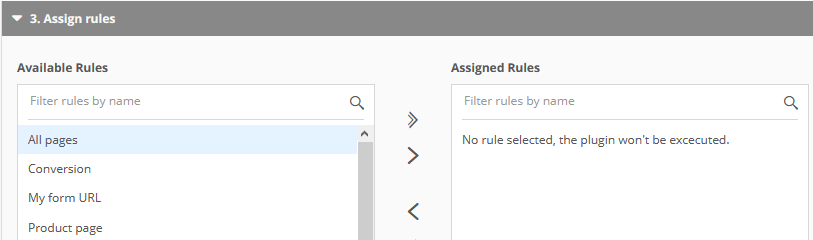
Now define a rule according to which the Mapp Intelligence plugin is played out on the website. For example, if you want to have all pages tracked, add the rule "All pages". In case you add more than one rule, at least one of them must apply.
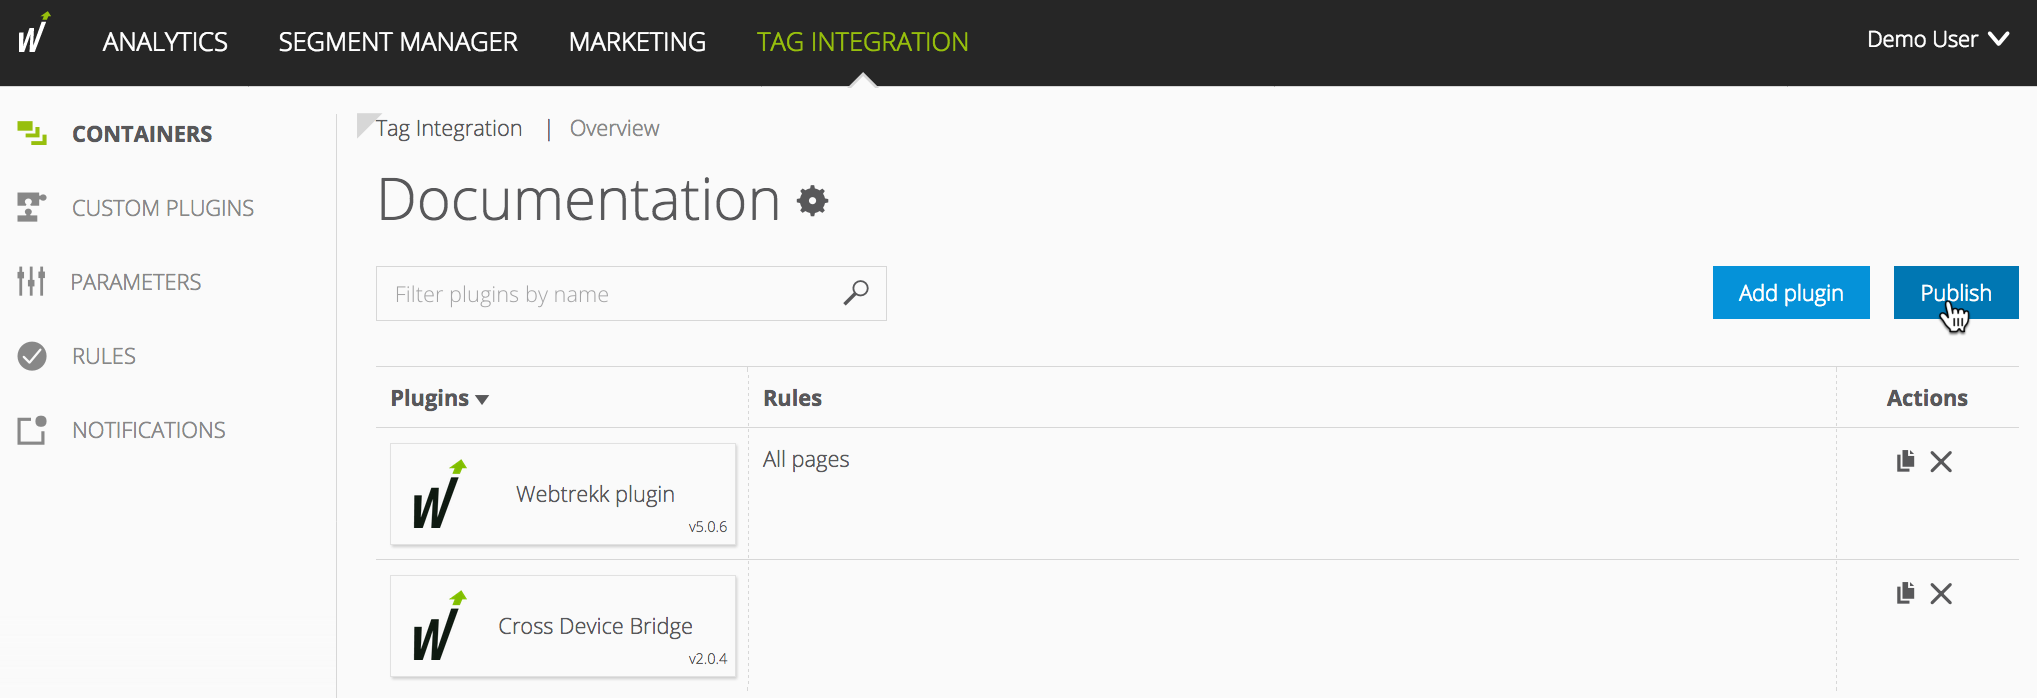
Click Save configuration. The Mapp Intelligence plugin is added to the container and appears in the overview.
Finally, click Publish to publish the container. Shortly after that (maximum of 5 minutes, usually only a few seconds) the configuration is available, and your website will be tracked.