the Zapier Connector, you can easily add Facebook leads to Mapp Engage. The setup below requires creating integration explained here
- in your Facebook Marketing platform.
- Add your Facebook account to Zapier. See to find out how.
- Create new Zap.
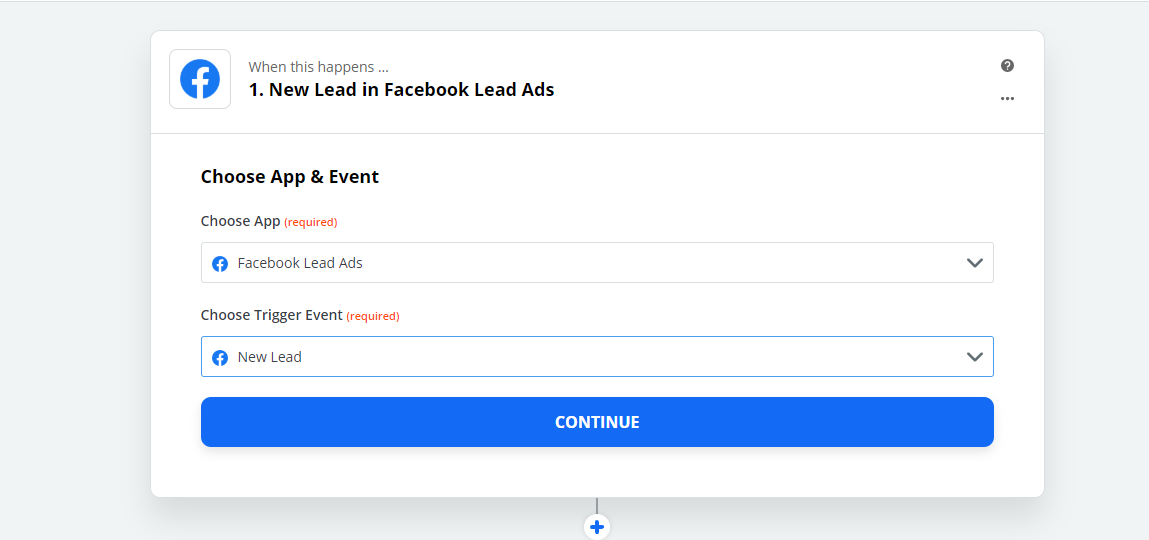
- Choose Facebook as a source and click on Continue.
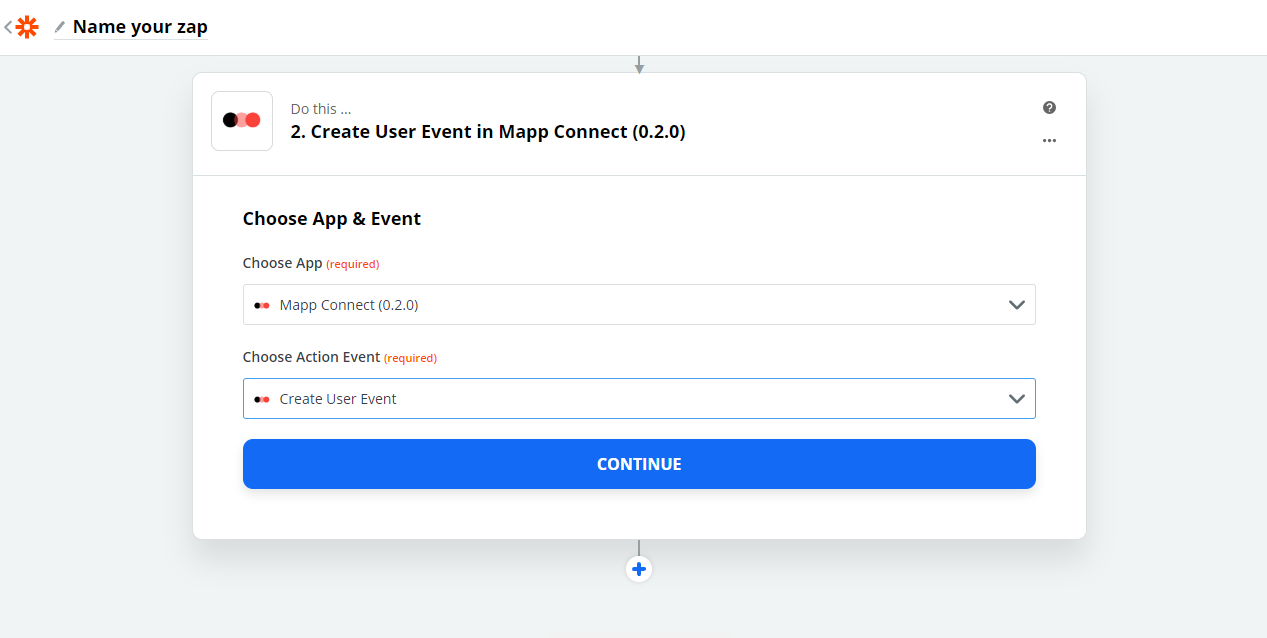
- Select Mapp Connect and Create User Event.
- Add fields from the source to be sent to Mapp Engage:
- Remember the field format – the email field is required.
- Mapping and the Mapp Connect plugin cover all Mapp engage core attributes – you don’t need to add them in the Mapping tab in the integration settings.
- Add any other (custom or integration) attributes. Before turning on the Zap, set them up in Integration Mapping Settings.
Example 1: Add a custom attribute
With a custom attribute, you can only have one value, which can be overridden by other integrations or by a Whiteboard.
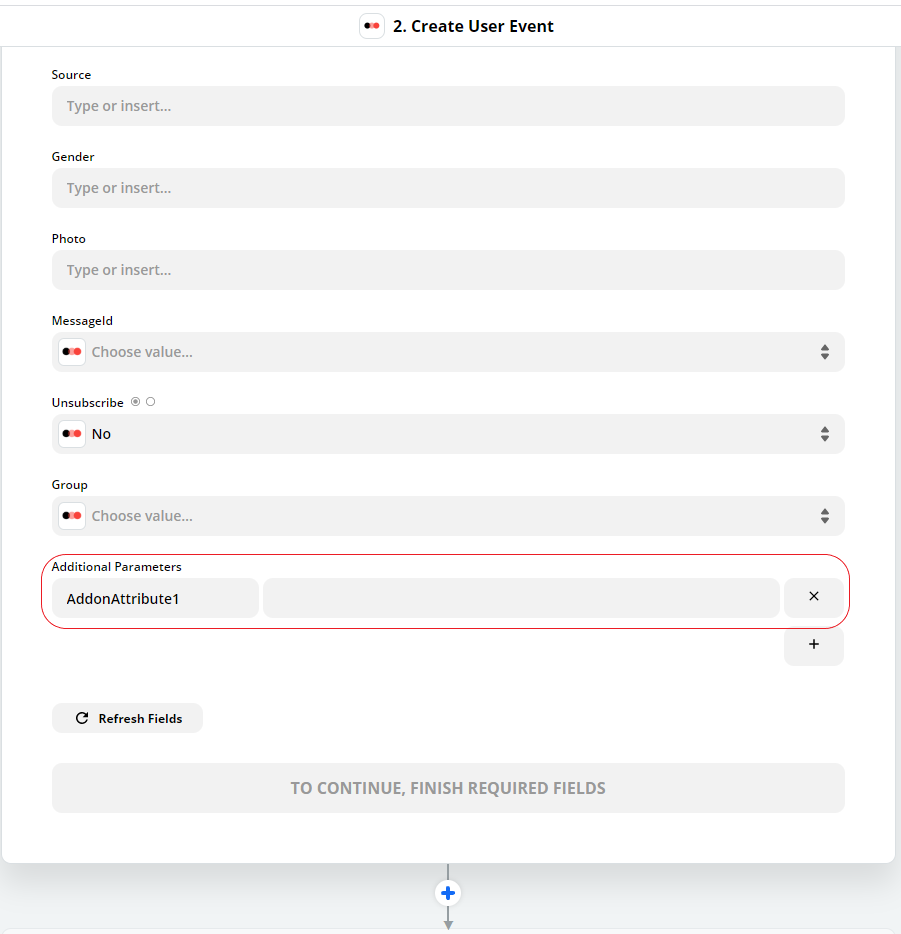
- Select Create User Event with additional parameters in Zapier.

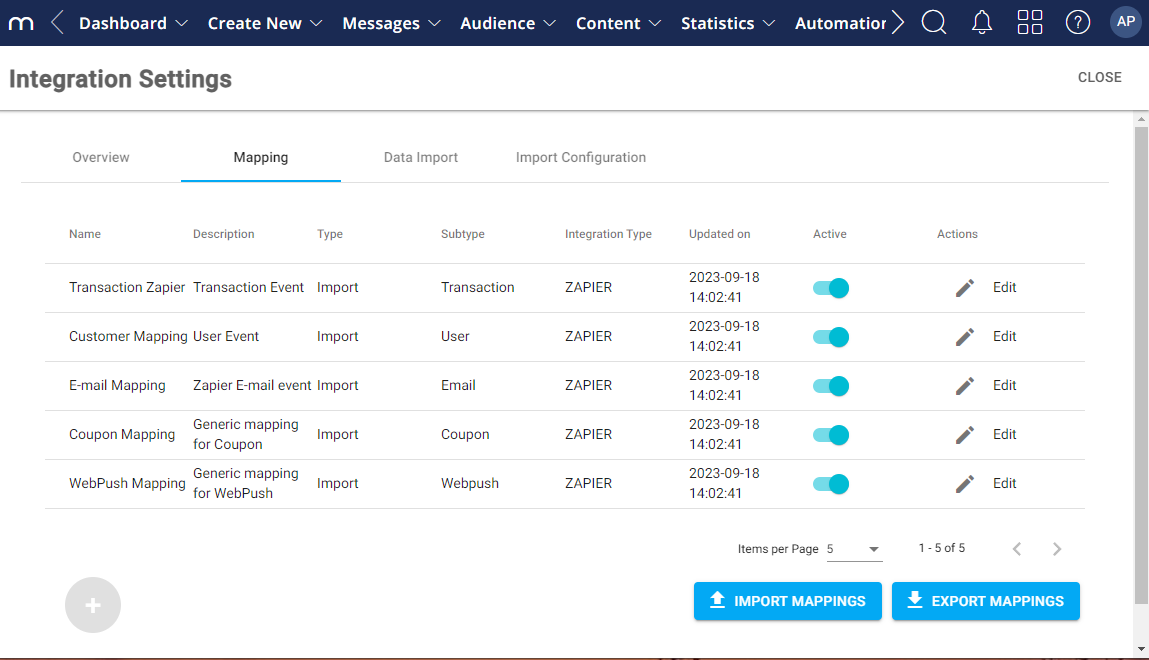
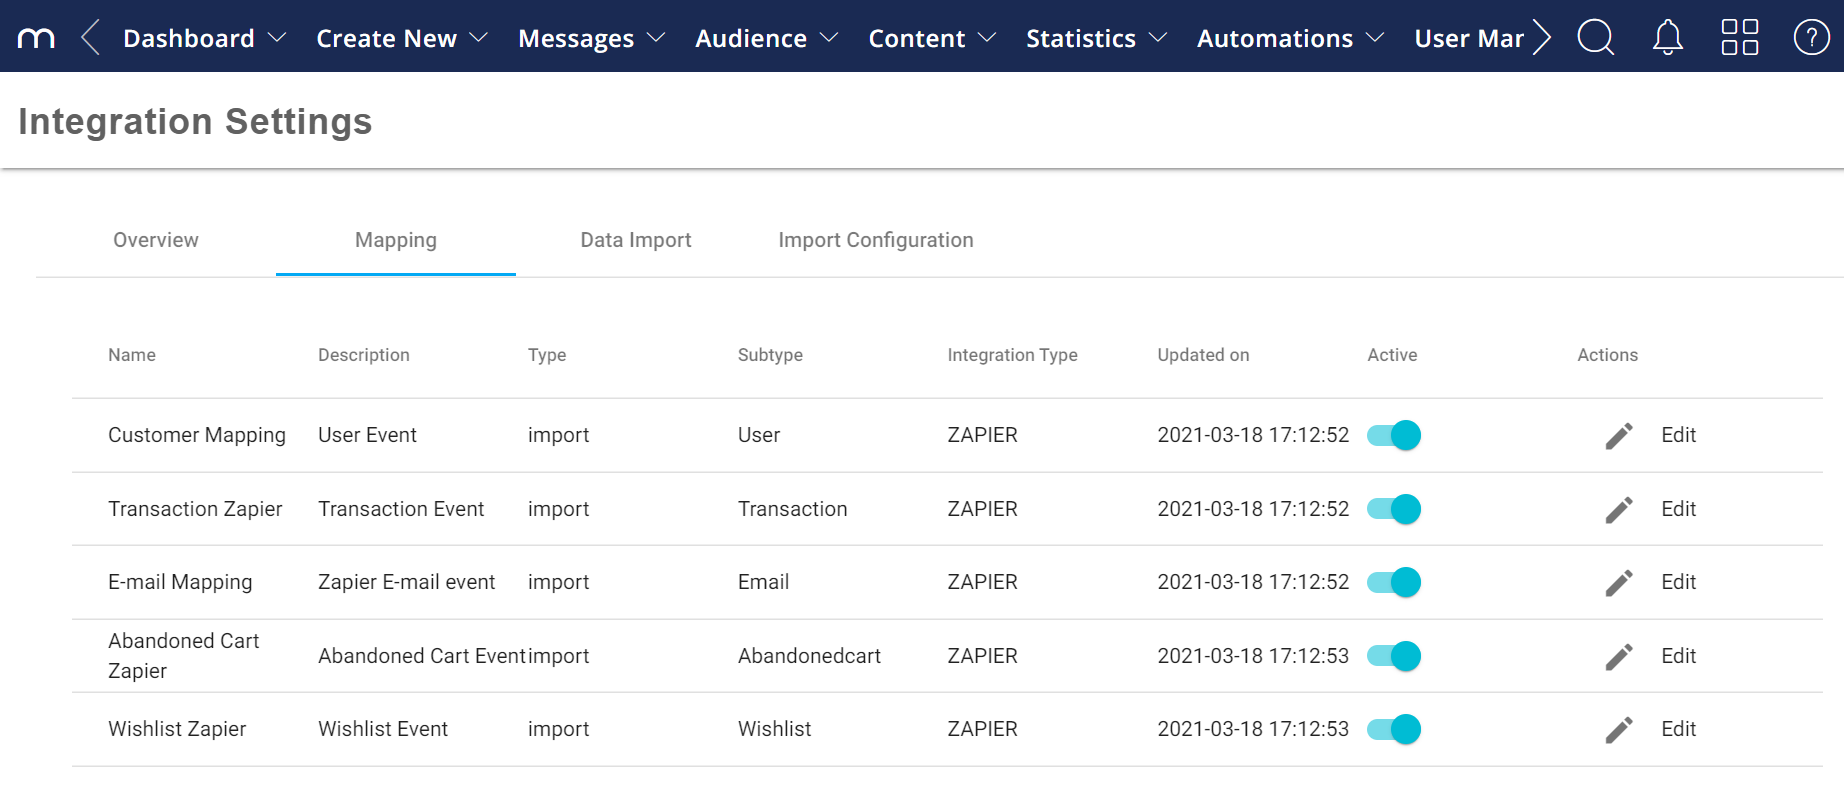
- Go to Data Management > Mapp Connect > Zapier Integration > Mapping > Customer Mapping > in Engage.
- Add a new custom attribute by clicking on the + button.
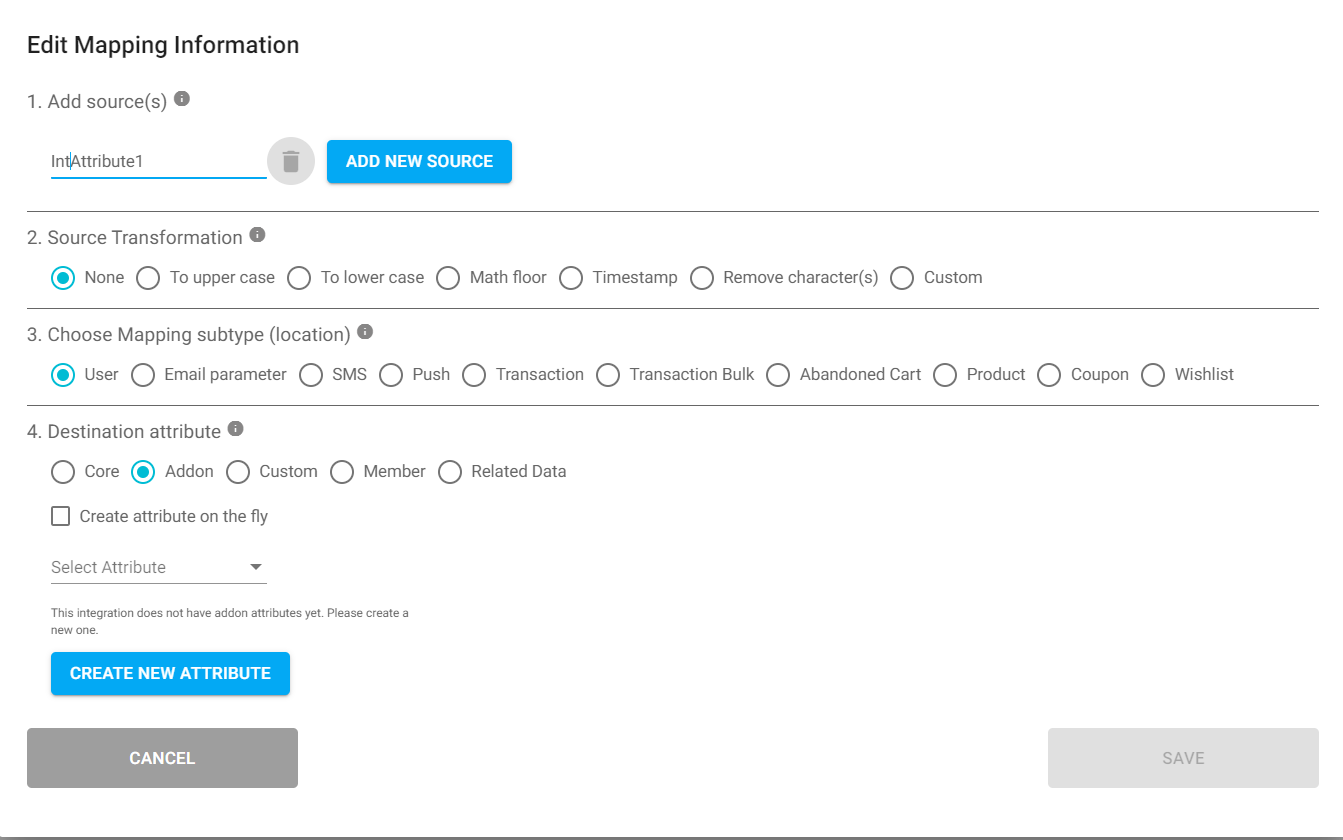
- Add the same source as in Zapier, and choose an attribute from the drop-down list.

- Save your Zap and turn it on.
Example 2: Add an integration attribute
With an integration attribute, you can have the same attribute differentiated by integration. Every sales representative in your organization can have an integration set up.
This way, the values cannot be overridden, and the customer can have different statuses per integration.
- Create a User Event with additional parameters in Zapier.
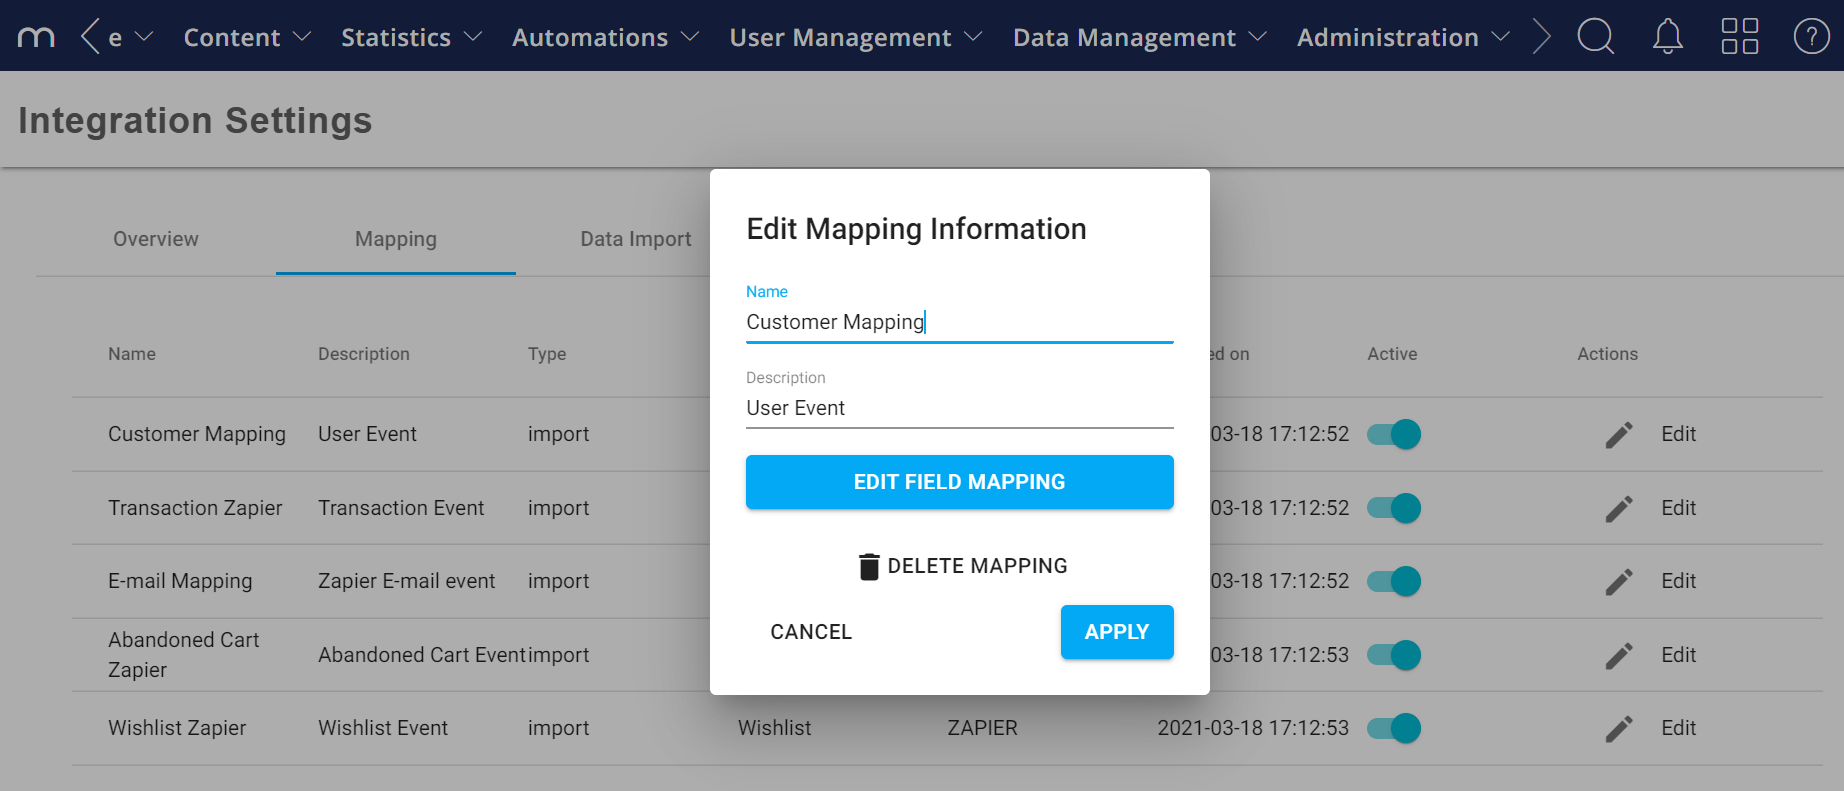
- Go to Data Management > Mapp Connect > Zapier Integration > Mapping > Customer Mapping > Edit > Edit Field Mappingin Engage
- Add a new integration attribute by clicking on the + button.
- Add the same source as in Zapier and choose an attribute from the drop-down list.
- Save your Zap and turn it on.
Further Recommendations
See how to send a transactional email with the order confirmation.
Entering a group can be a Whiteboard step for further campaign purposes. A user who is already in the system will be added to the group and their attributes will be updated. If the user is already in this group, member attributes will be updated. A similar path can be created for any other social media lead campaign or CRM system.