Mandatory, unique channel name, used to identify the website channel within the system and is not visible to your contacts.
Description
Optional, also not visible to your contacts.
Enter the FCM Credentials: the FCM Json Key. The following video shows how to generate the Key in Firebase. For more information see Firebase Cloud Messaging.
If you didn't provide a FCM Json Key, or if you provided an invalid one, you won't be able to activate the channel upon the last step (Summary). Instead, you will only be able to Save the channel or Close the creation process. In case of a valid FCM API Key, you will be able to first Activate the channel before saving it and closing the process.
Click Next.
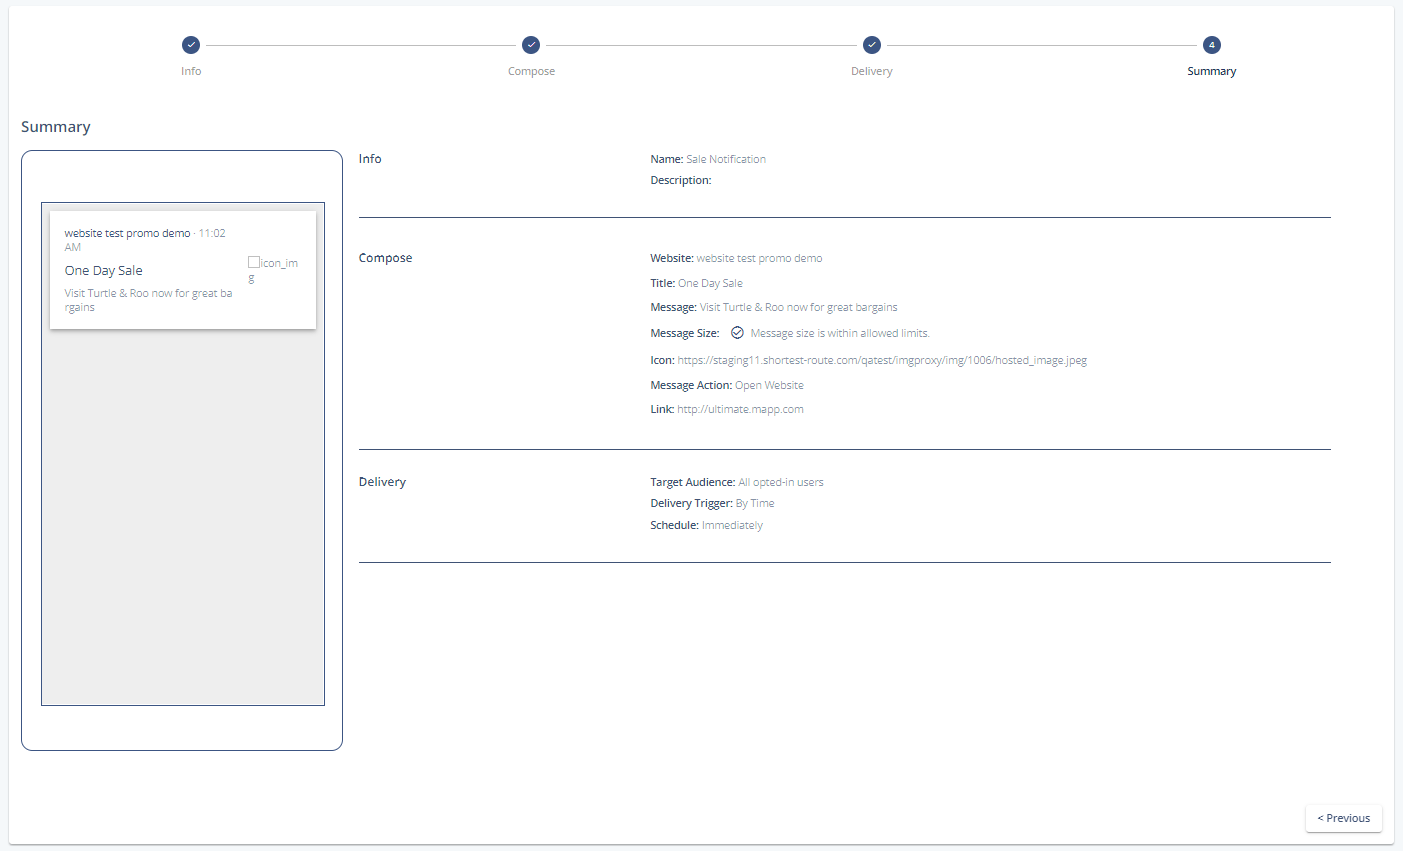
A Summary page gives you an overview of all of the previous steps.
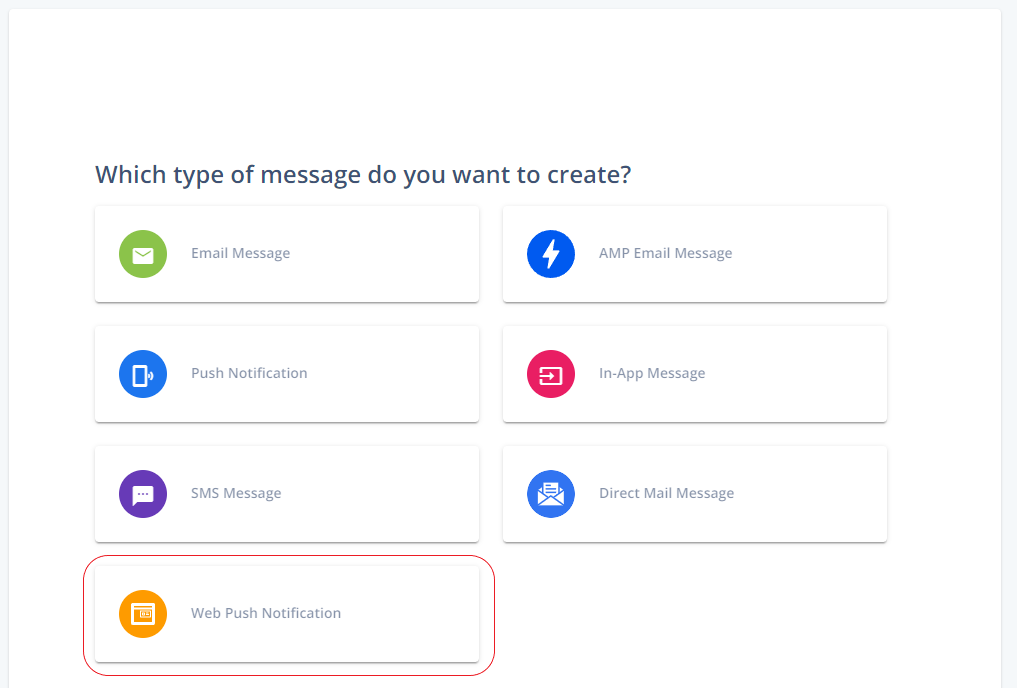
Web Push Notification
Go to Create New > Message > Web Push Notification.
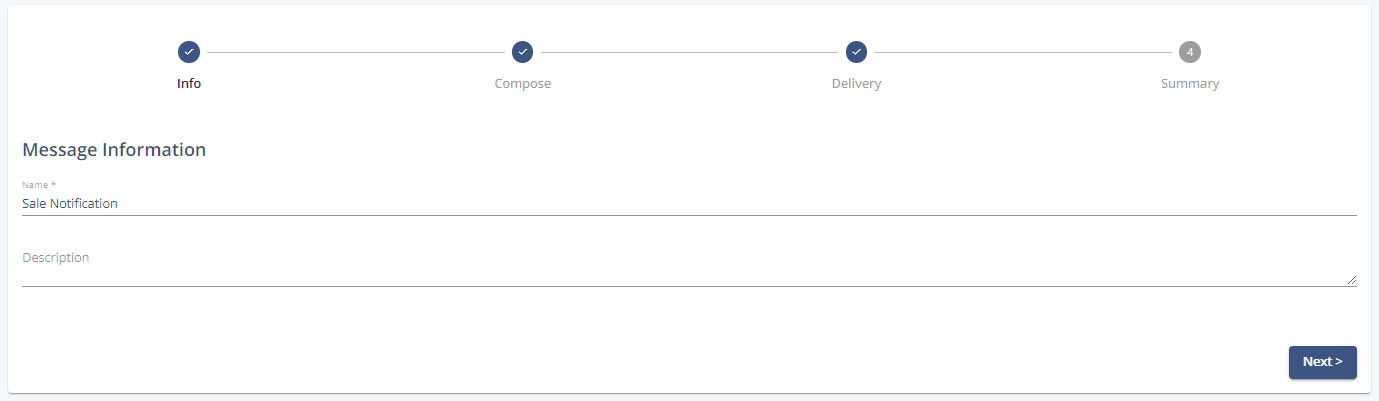
Give the notification a unique name. The description is optional.
Neither the name, nor the description are visible to your contacts.
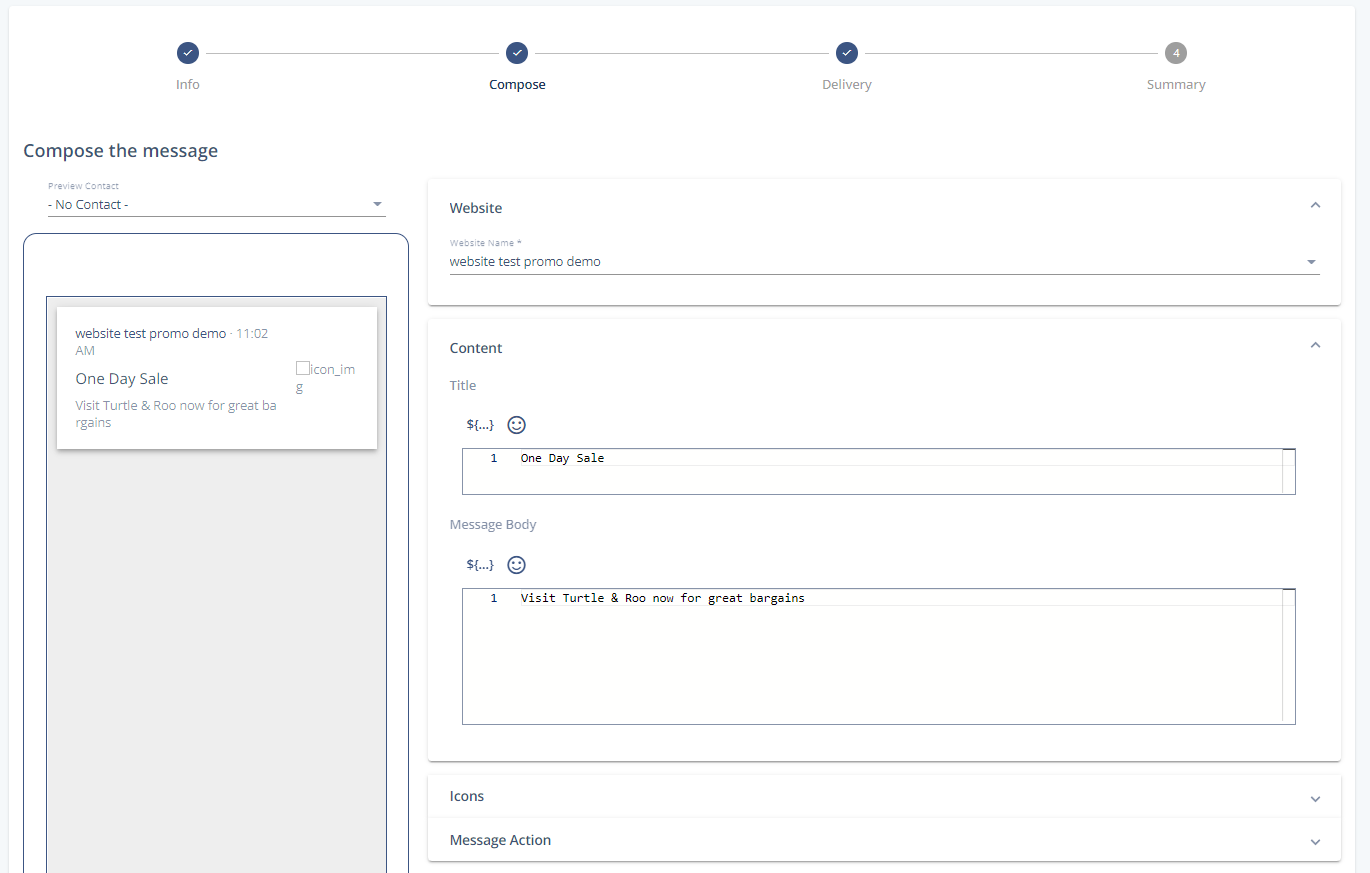
Choose the desired website channel you previously created.
Content: Enter a title and the body of the message that you want to send. Both can be personalized by adding recipient-specific content to the notification during the sendout.
Icons: Add an icon to your web push notification to make it more appealing. You can upload them, or select from the Content Store.
Message Action: Enter the name of the website you want to open when your contact interacts with the web push notification.
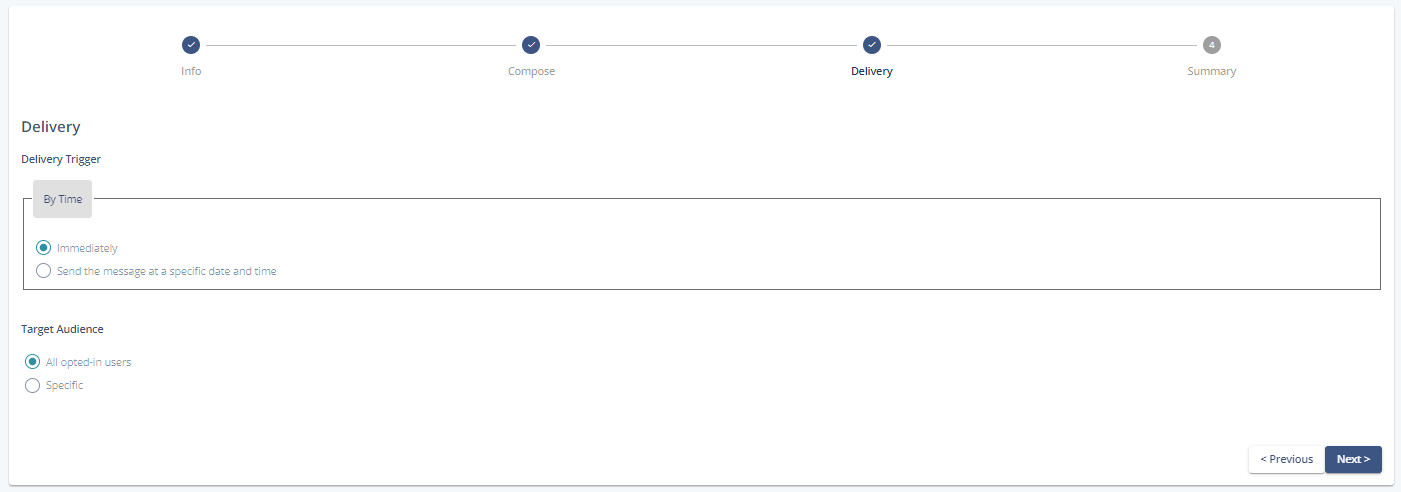
Delivery trigger: You can trigger the delivery of your web push notification by time: either immediately, or at a specific date and time. For the second option, you can select a specific delivery date, delivery time, and an appropriate time zone.
Target Audience: Choose whether you want to send the message to all of the opt-in users, or just to a specific selection. For the second option, you can choose among previously created selections.
Summary: Gives you an overview of all of the previous steps.
Use Cases
Learn more about possible Use Cases in our How-Tos: