Implementing the XAD TV Attribution Plugin
Implementation Methods
The plugin is available in Tag Integration. Alternatively, you can integrate it in the standard pixel as a separate JavaScript file.
Integrate the XAD TV Attribution plugin into the container in which the webpage to be measured is located.
To add plugins to the desired container, proceed as follows:
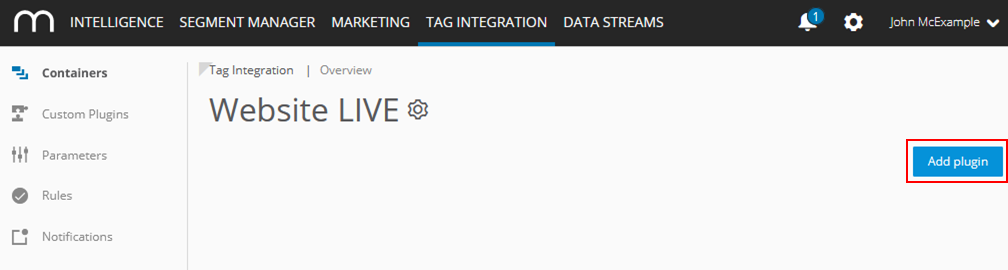
- In the container overview, select the required container by clicking the corresponding entry.
- Click Add Plugin.
Select XAD TV Attribution by clicking the appropriate button.
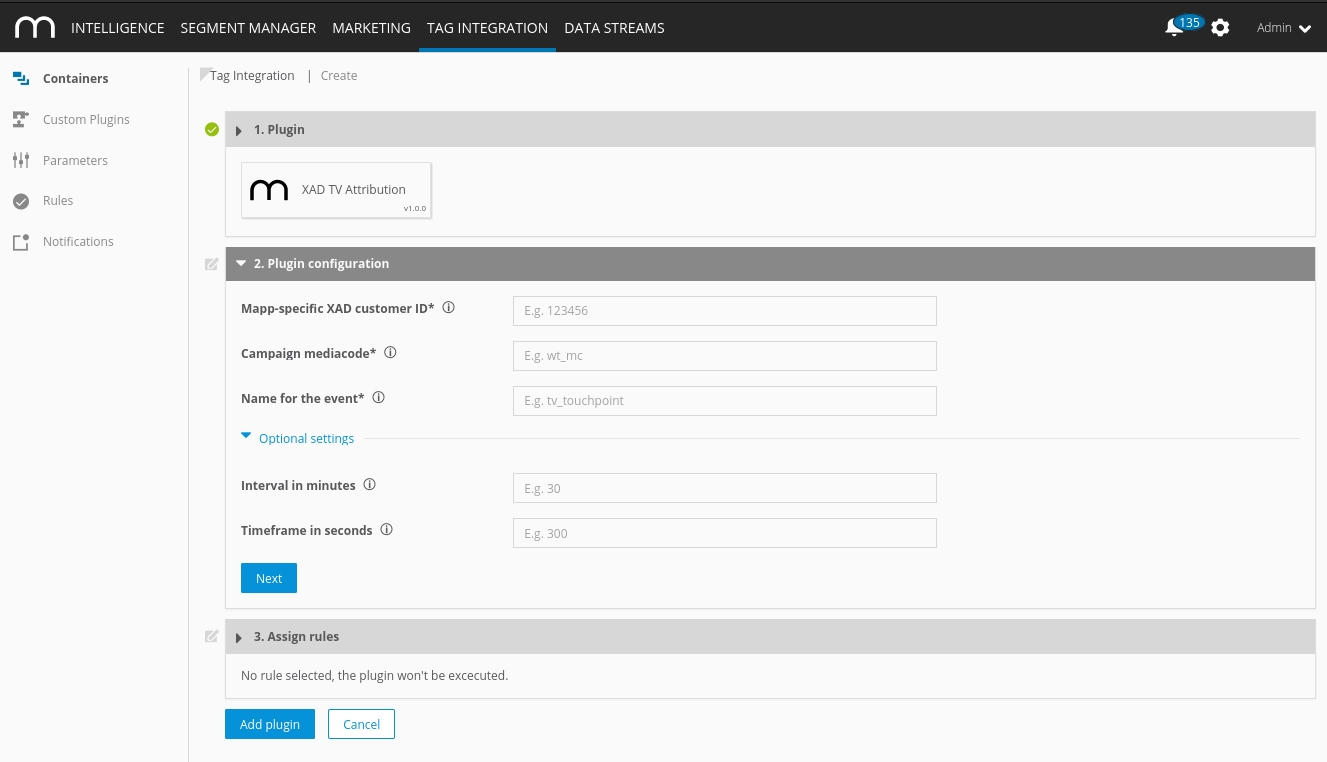
Now enter the following information:
Parameter
Description
Mapp-specific XAD customer ID
Enter your Mapp-specific XAD customer ID here. This is obtained from your Mapp contact person.
Campaign mediacode
This is where you enter your campaign mediacode that you want to use to capture the commercial.

The mediacode you enter has to be set up in the Mapp tool in order for the campaign information to be captured. The captured campaign information is comprised as follows: TV.{{Canal}}.{{Spot}}.{{YYYY-MM-DD hh:mm:ss}} (e.g.: TV.N24.Commercial.2021-09-05T11:49:01Z).
Name for the event
This is where you can establish a name for the event used to transfer the ad media.
Interval in minutes
This is where you set the time interval in minutes during which the XAD API is permitted to query campaign information. 30 minutes is recommended here as the default.
Timeframe in seconds
This is where you set the time frame in seconds during which XAD is permitted to query spot information. 60 seconds is recommended here as the default.
- Click Next.
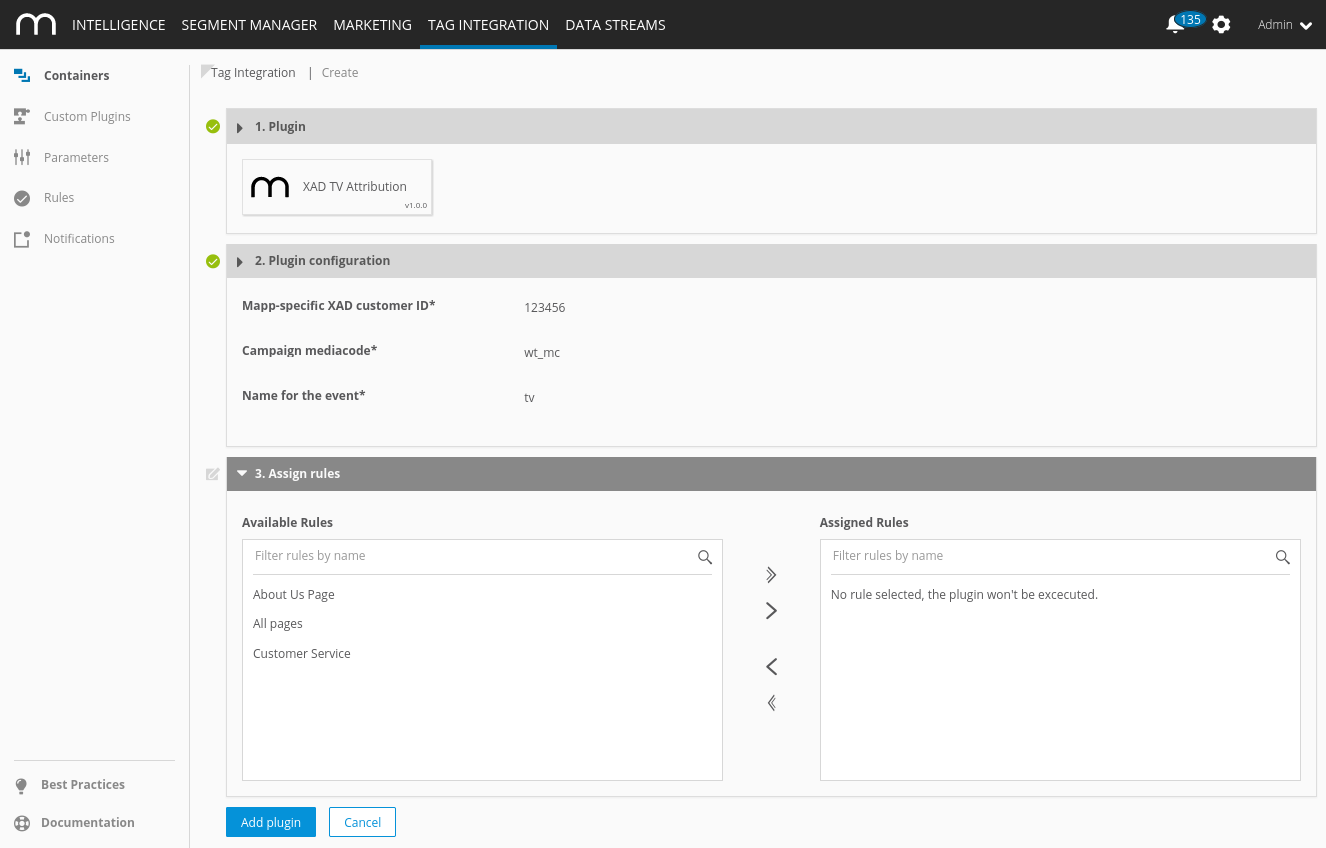
- In the "Assign rules" area, you define the page areas on which the measurement is to be carried out.
- Then click Add plugin.
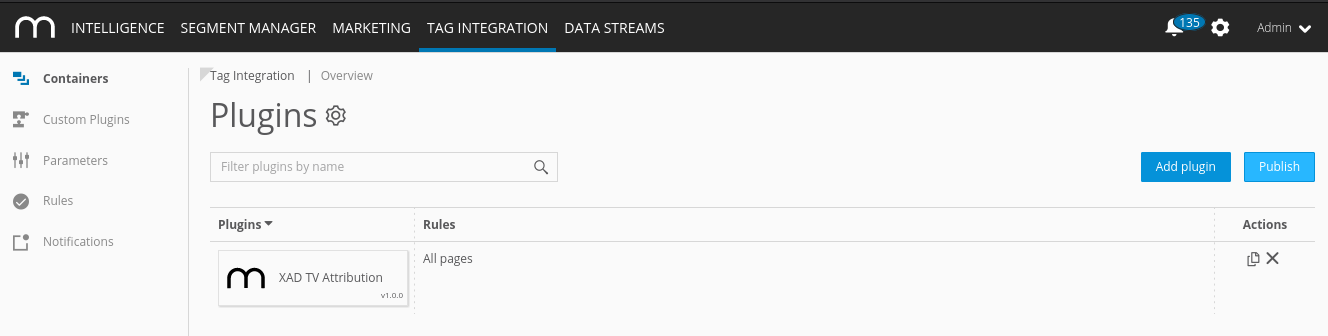
- Finally, click Publish to publish your container including the newly added XAD TV Attribution plugin.
Since version 3.2.x of the Mapp tracking script, the use of plugins is supported. A plugin is all JavaScript functions that are transferred to the Mapp pixel.
For the integration of the XAD TV Attribution plugin, you need the JavaScript file "pixel-xad.min.js."
- Download the JavaScript file "pixel-xad.min.js".
In the JavaScript file "pixel-xad.min.js," make the following adjustments:
Examplewindow.wt_xad_tv = function(conf) { if(conf.mode === 'page' && conf.type === 'after' && conf.requestCounter === 1) { var xadConfig = window.xadConfig || { customerId: '', mediaCode: 'mc', linkId: 'tv_touchpoint', sessionTime: 30, timeframe: 5 * 60 }; /* ... */ } };JSParameter
Description
customerId Enter your Mapp-specific XAD customer ID here. This is obtained from your Mapp contact person.
mediaCode This is where you enter your campaign mediacode that you want to use to capture the commercial.
The mediacode you enter has to be set up in the Mapp tool in order for the campaign information to be captured. The captured campaign information is comprised as follows: TV.{{Canal}}.{{Spot}}.{{YYYY-MM-DD hh:mm:ss}} (e.g.: TV.N24.Commercial.2017-09-05T11:49:01Z).
linkId This is where you can establish a name for the event used to transfer the ad media. sessionTime This is where you set the time interval in minutes during which the XAD API is permitted to query campaign information. 30 minutes is recommended here as the default. timeframe This is where you set the time frame in seconds during which XAD is permitted to query spot information. 60 seconds is recommended here as the default. Include the script file in your website in advance so that it provides the method "wt_xad_tv" under the object "window".
The parameter "executePluginFunction" is used for the activation itself. This can be set either in the configuration variable (webtrekkConfig) in the global pixel file (for example, "webtrekk_v4.js") or as a parameter of a page-specific pixel object.
Example global configuration
var webtrekkConfig = { trackId: "111111111111111", trackDomain: "track.webtrekk.net", domain: "www.website.com", executePluginFunction: "wt_xad_tv" };JSExample page-specific configuration
var wt = new webtrekkV3();
wt.contentId = "de.startseite";
wt.executePluginFunction = "wt_xad_tv";
wt.sendinfo();
JS
If you want to measure the data on all your pages, we recommend global integration. The page-specific configuration is used for the measurement of individual pages.